Blog
Latest posts from Upsampler.
How to Bulk Upscale Thousands of Images with the Creative Enhancement API
Upscale and regenerate a high volume of images at large resolutions with a bulk creative upscaling API. Ideal for enhancing AI-generated and synthetic images, creating datasets, or producing marketing visuals with improved skin texture.
Admin
@lucak5s
AI image generation is a game-changer, but it has a common weakness: resolution. Most AI models create images around one megapixel. While they look fine as thumbnails, they lack the detail needed for larger formats.
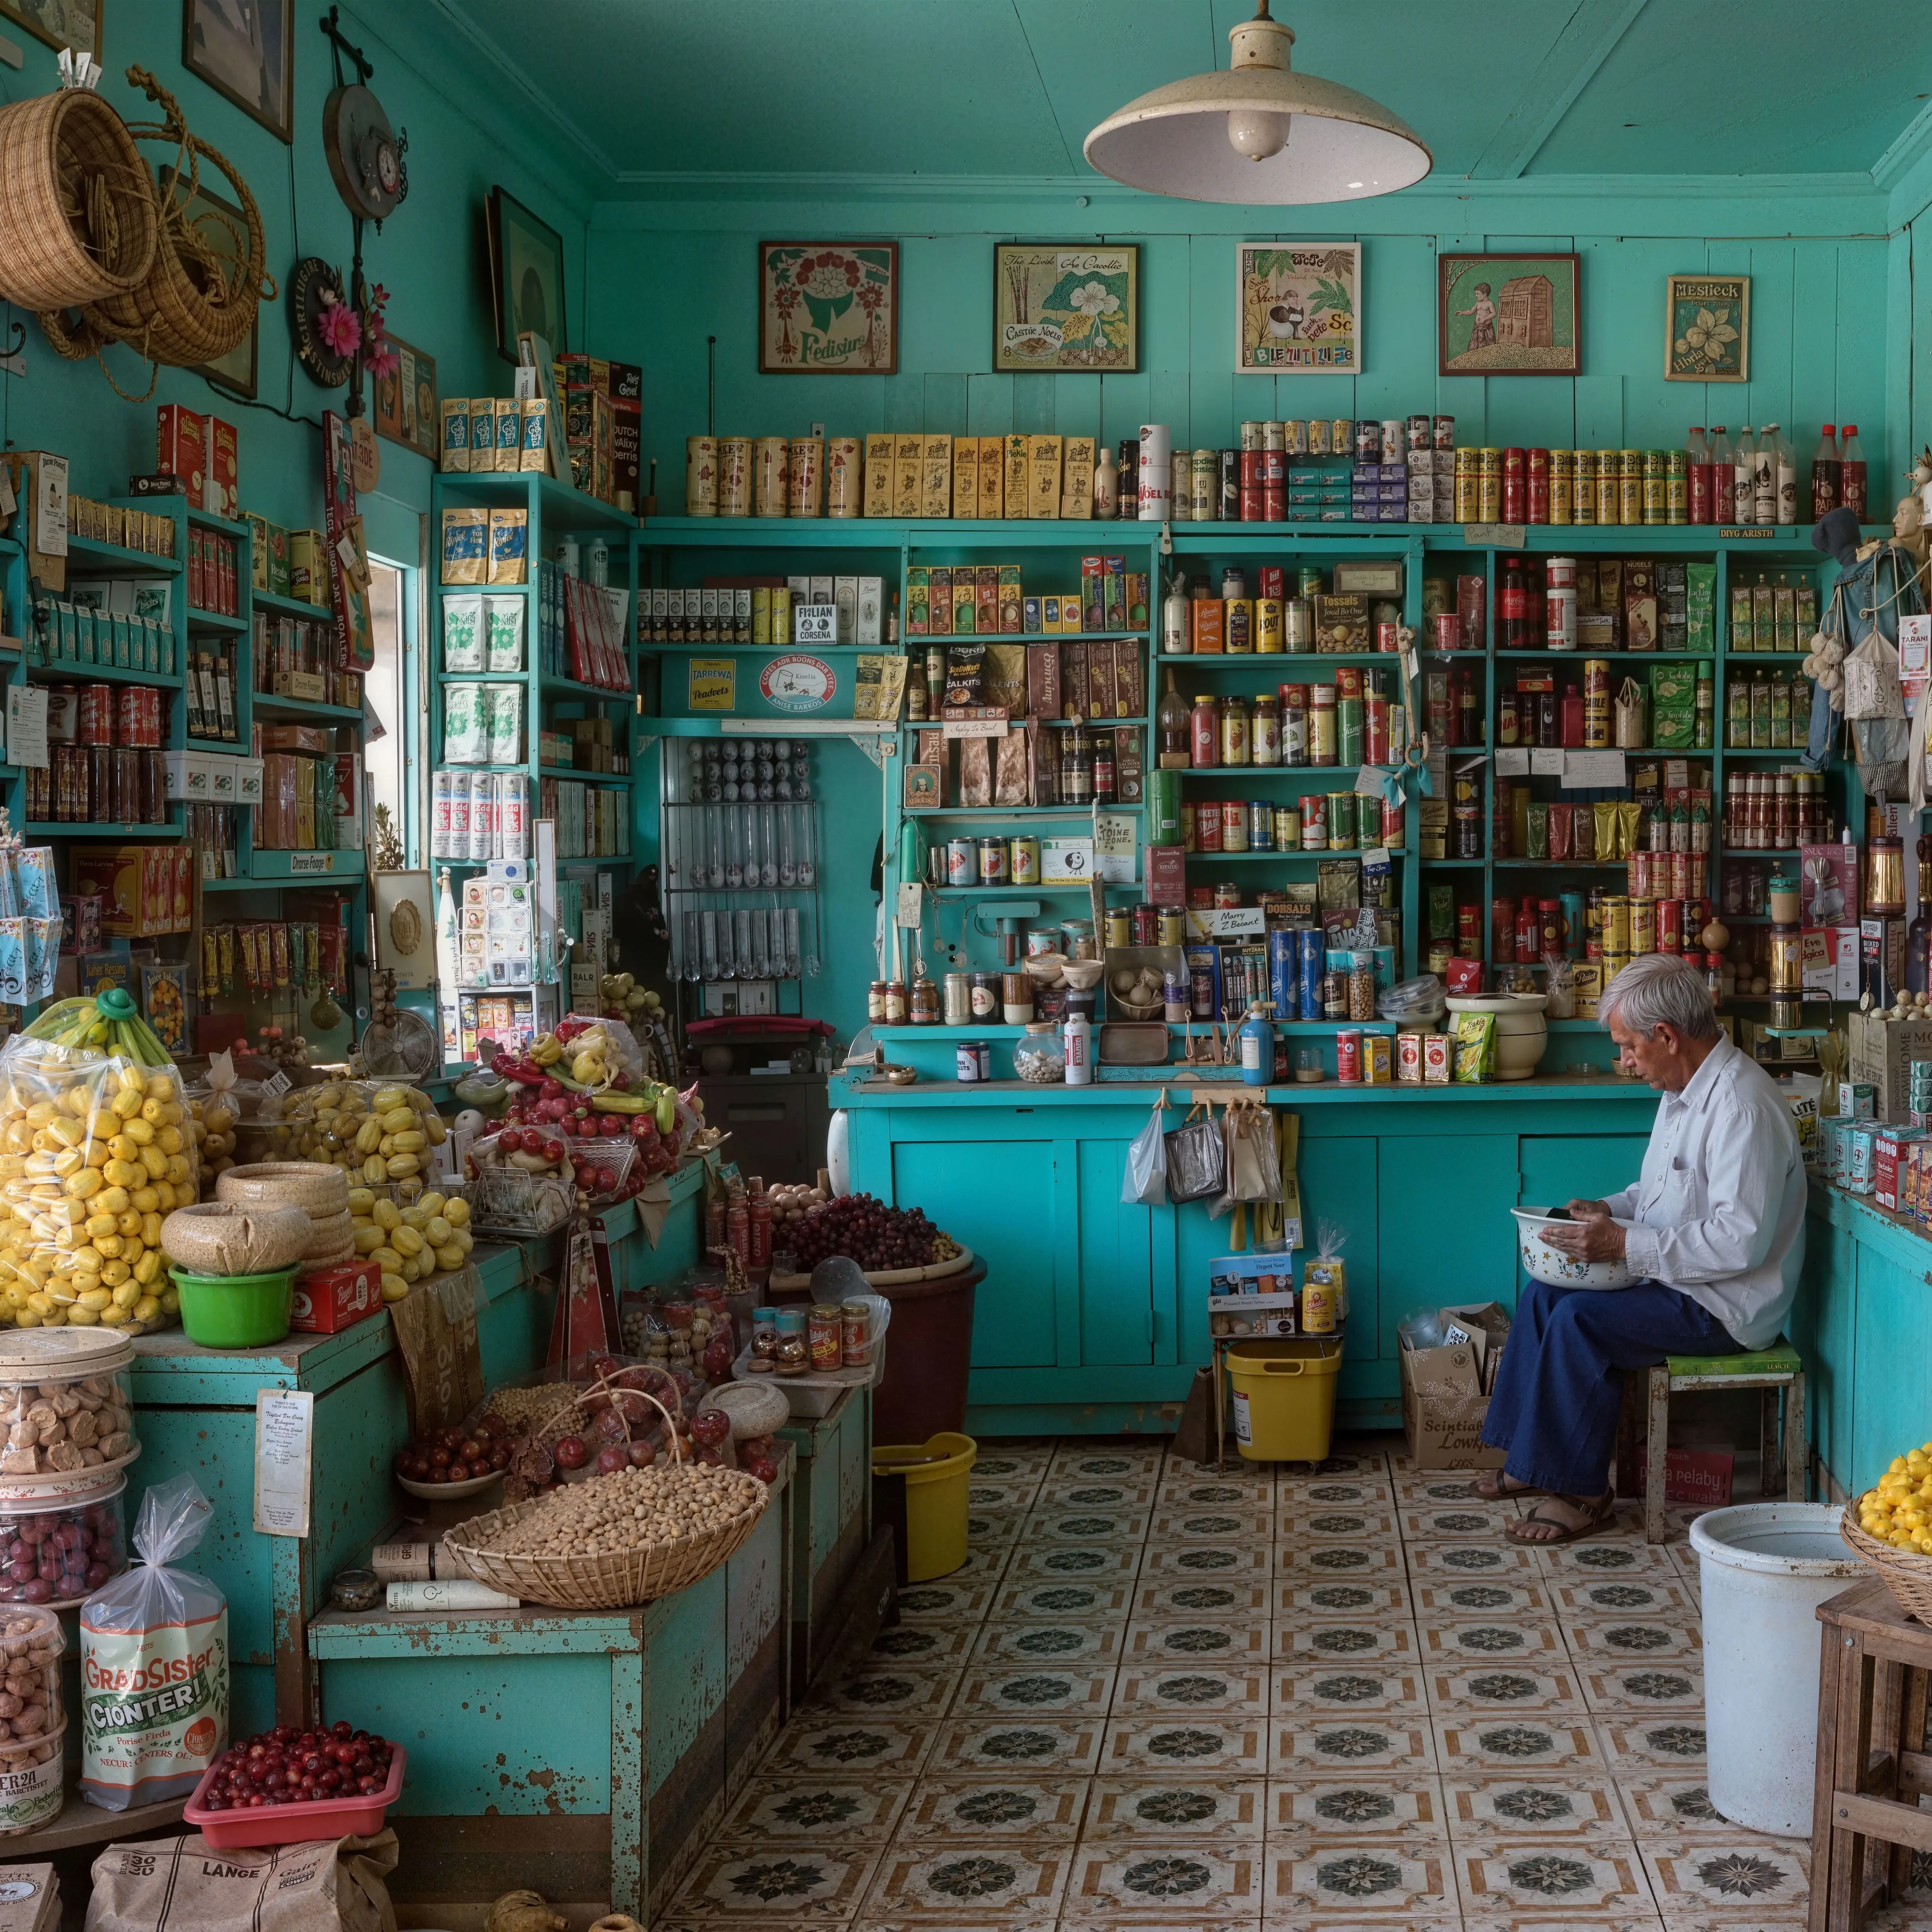
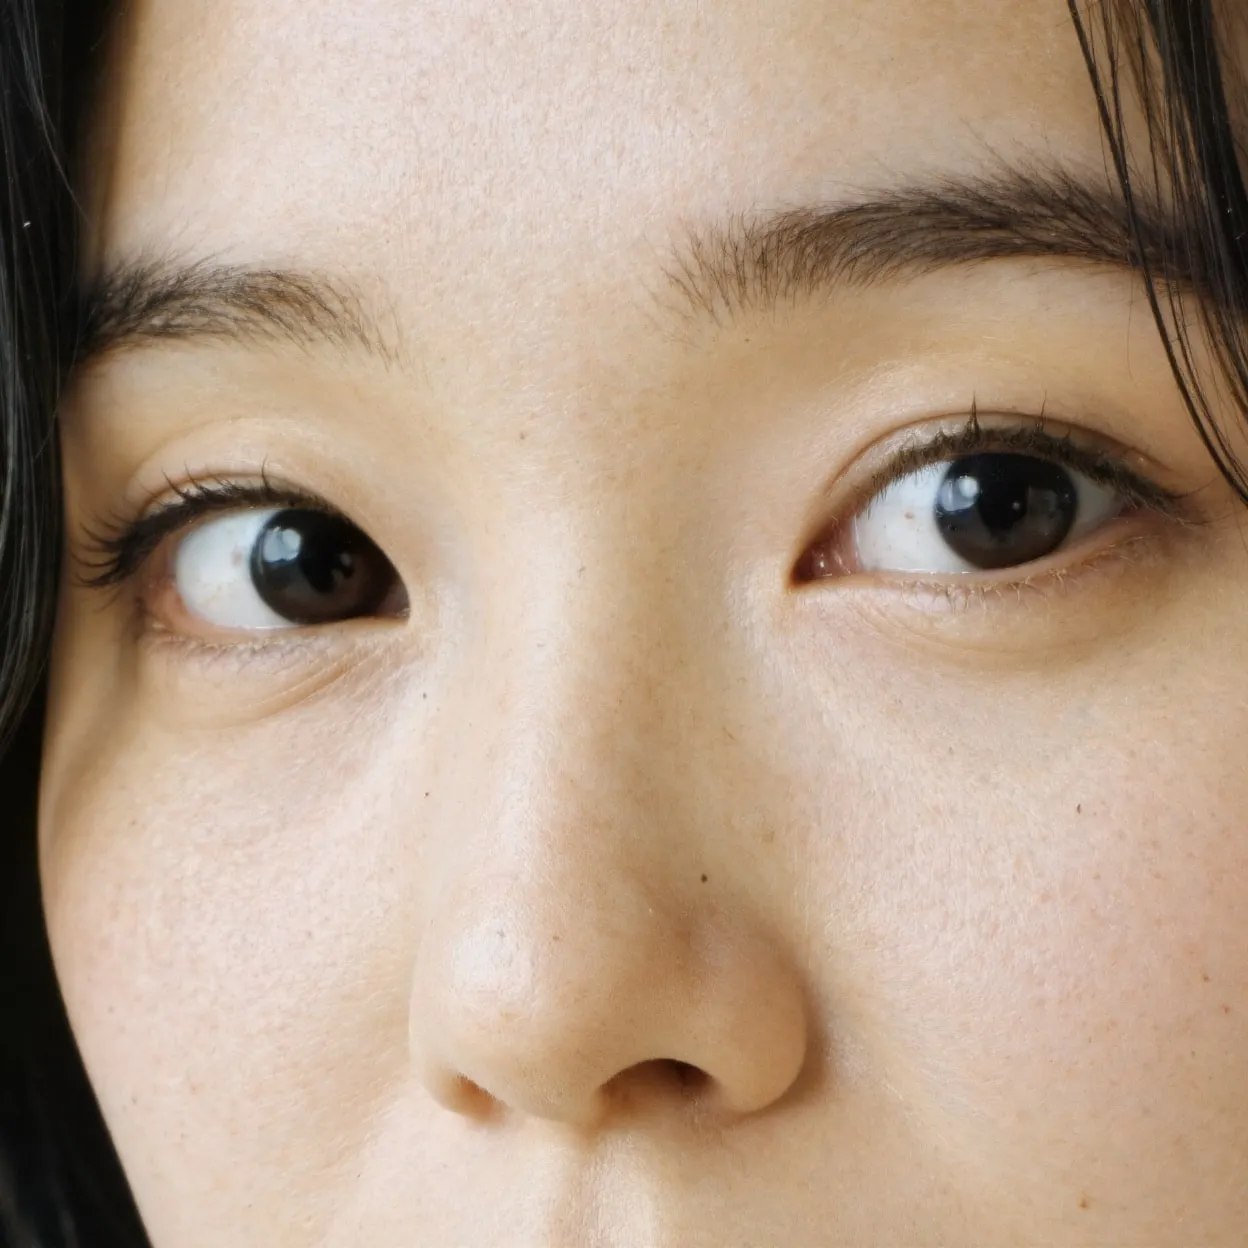
This is where creative upscalers like Magnific AI or Upsampler shine. Instead of simply stretching an image and blurring the details, a creative upscaler intelligently regenerates the image at a higher resolution. It adds new, realistic details, removes digital artifacts, and can even fix imperfections like strange-looking skin textures from the original AI generation.
But what happens when you need to enhance more than just a handful of images? Manually upscaling an entire dataset of AI art, game assets, or marketing photos would take forever.
Thankfully, there's a much smarter way: bulk creative upscaling using the Upsampler.com API and a simple Python script. In this guide, we'll show you exactly how to upscale hundreds or even thousands of images automatically.


Why Bulk Enhance Your Images?
Automating your enhancement workflow can be a massive productivity boost for several projects:
- Creating ML Datasets: Enhance large volumes of synthetic images to train more robust machine learning models.
- Upgrading Art Portfolios: Effortlessly increase the resolution of your entire AI art collection for prints or high-definition displays.
- Producing Marketing Visuals: Quickly generate high-quality, print-ready images for campaigns and social media.
- Enhancing Game Assets: Upscale textures and sprites to give your game a professional, high-fidelity look.
Step-by-Step Guide to Bulk Creative Upscaling
Step 1: Get Your Upsampler API Key
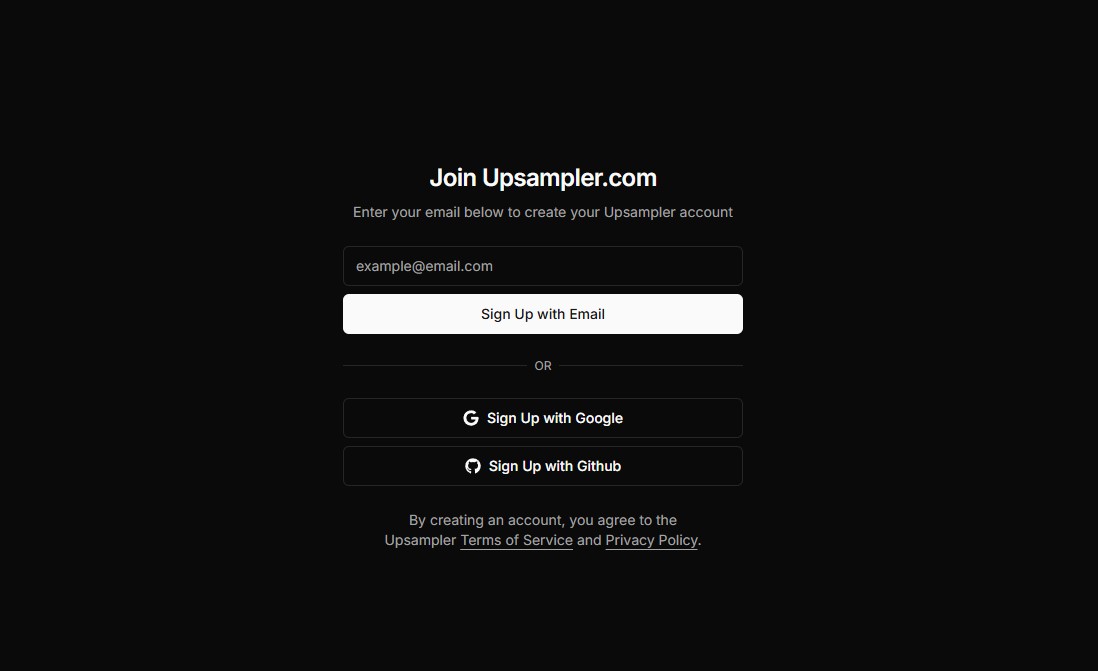
First, you'll need an Upsampler account and an API key.
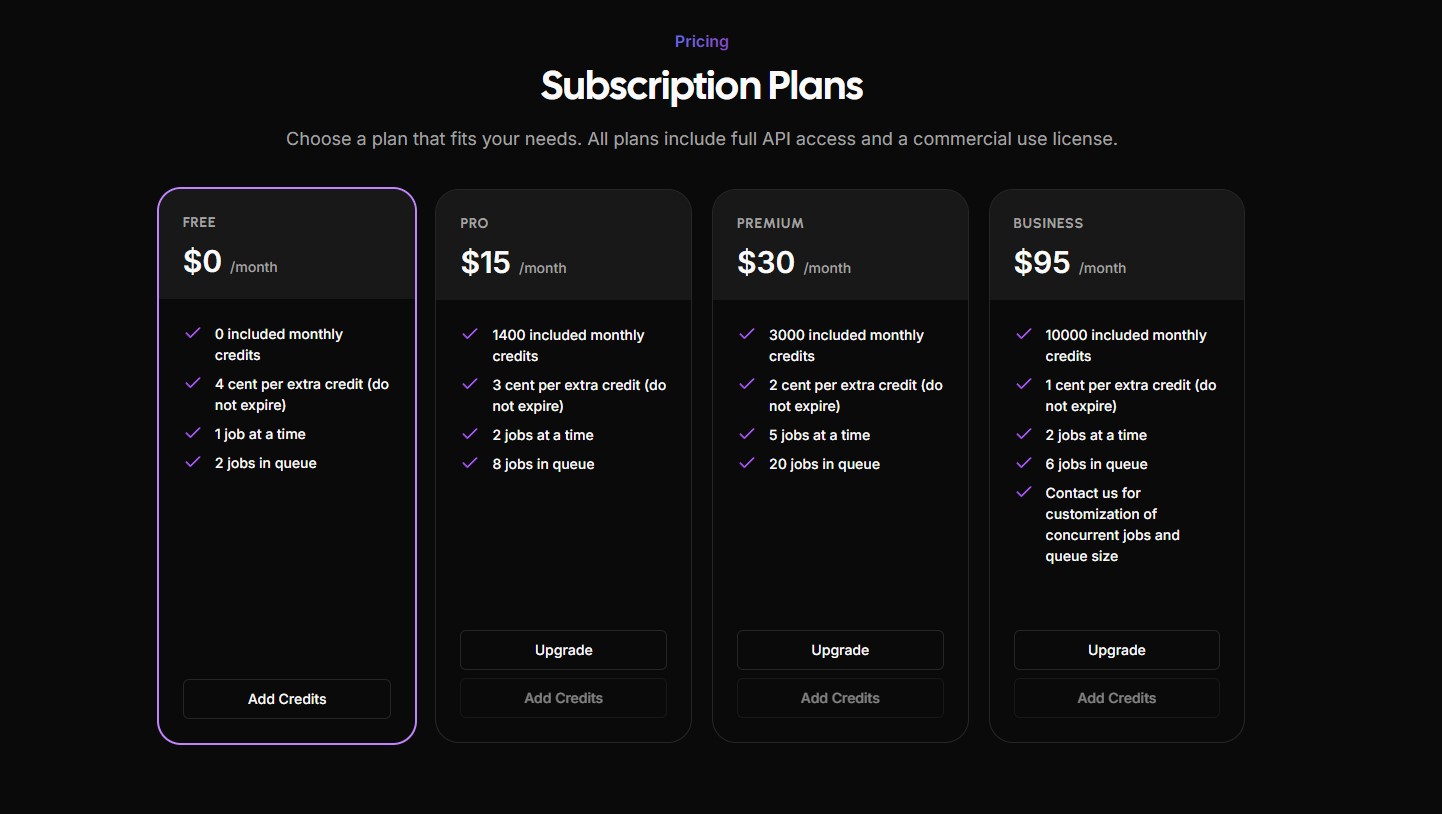
- Sign Up: Head over to Upsampler and create an account. The free plan is perfect for testing. You can buy a small number of one-time credits to start - no subscription required, and credits never expire. For larger jobs, the Pro plan offers a better price per image.
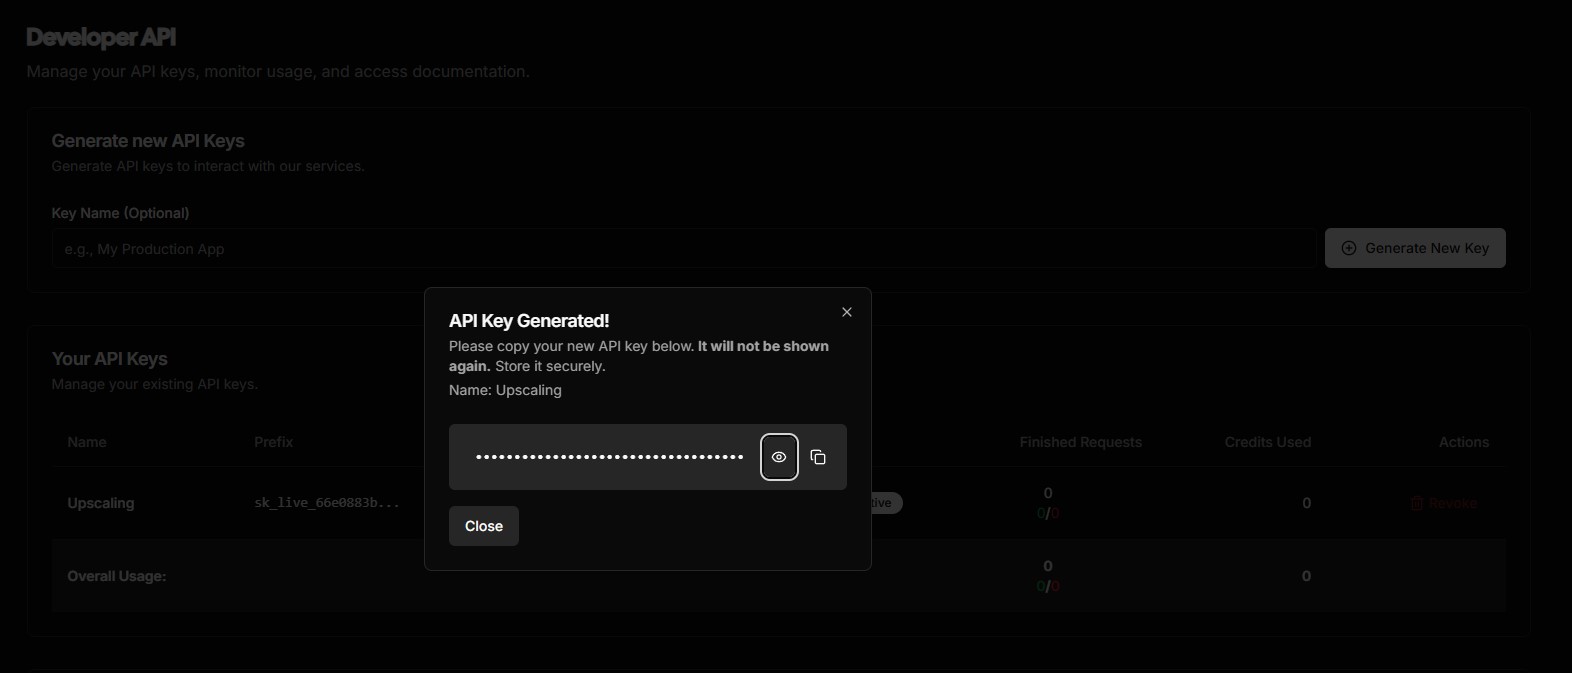
- Generate API Key: Once your account is set up, go to the Developer API dashboard and generate a new API key. Treat this key like a password and never share it publicly.
Step 2: Set Up Your Python and Git Environment
To run the automation script, you'll need Python and Git installed on your computer.
- Install Python: If you don't already have it, you can download and install Python from the official website.
- Install Git: The script is downloaded using Git. If you don't have it, install it from the official Git website.
- Clone the Scripts: Open your terminal or command prompt and clone the Upsampler API scripts repository from GitHub using the following command:
git clone https://github.com/upsampler/upsampler-api-scripts.git - Install Dependencies: Navigate into the new directory (
cd upsampler-api-scripts) and install the necessary Python packages:pip install -r requirements.txt
Step 3: Configure Your Upscaling Job
Inside the cloned repository, you'll find a config.json file. This is where you'll tell the script what to do.
You can set it up in two main ways:
Option A: List of Image Files/URLs Provide a specific list of local file paths and public URLs.
{
  "api_key": "sk_live_...",
  "input_source": [
    "https://example.com/path/to/public/image1.jpg",
    "/Users/YourUser/Pictures/local_image2.png"
  ],
  "upscale_endpoint": "smart-upscale",
  "upscale_settings": {
    "inputImageType": "universal",
    "upscaleFactor": 2,
    "globalCreativity": 5,
    "detail": 7,
    "shouldEnhanceFaces": true
  }
}Option B: A Folder of Images Point the script to a folder on your computer containing all the images you want to upscale.
{
  "api_key": "sk_live_...",
  "input_source": "/Users/YourUser/Pictures/MyDatasetFolder",
  "upscale_endpoint": "dynamic-upscale",
  "upscale_settings": {
    "inputImageType": "universal",
    "upscaleFactor": 2,
    "globalCreativity": 5,
    "detail": 7,
    "resemblance": 5,
    "shouldEnhanceFaces": true
  }
}Configuration Breakdown:
api_key: Your secret API key from Step 1.input_source: Either a list of image paths/URLs or a single path to a local image folder.upscale_endpoint: Choose betweensmart-upscale(Creative Upscale – Flux),dynamic-upscale(Creative Upscale – Stable Diffusion), orprecise-upscale(Precise Upscale). See the Upscale tool for more info about the different models.upscale_settings: You can find all the possible settings for each endpoint on the Developer API page.
Note on Local Files: The script temporarily uploads local images to a service called uguu.se to process them. If you prefer a different method, you can modify the upload_local_image function in the submit.py script.
Step 4: Run the Scripts and Get Your Images!
The process is split into two simple commands.
- Submit Your Images: Run the
submit.pyscript to upload your images and start the upscaling process.python scripts/submit.py - Retrieve Your Images: After the submission is complete, run the
retrieve.pyscript. This will download all the finished, high-resolution images into a new folder namedoutput.python scripts/retrieve.py
If you need to start over, you can run python scripts/clear.py to reset the environment.
Conclusion
And that's it! With a simple configuration file and two commands, you can automate the enhancement of thousands of synthetic or low-resolution images. This powerful workflow saves you countless hours of manual work and empowers you to produce professional, high-quality visuals at scale. Stop upscaling one by one and start creating more, faster.