Blog
Latest posts from Upsampler.
Convert Logo to High-Quality SVG – Upscale & Vectorize JPG/PNG Logos with Photopea & AI
Transform pixelated, low-res logos into crisp, scalable SVGs. Learn to easily upscale, clean, and vectorize your logo using Photopea and AI.
Admin
@lucak5s
Dealing with a low-resolution logo can be a significant roadblock. Whether it's an old compressed file, a scanned image, or an AI-generated graphic, a pixelated logo undermines your brand's professionalism when used on websites, merchandise, or marketing materials. This guide provides a clear process to upscale your logo, make your logo better quality, and convert it from a low-resolution raster image into a highly versatile Scalable Vector Graphic (SVG). You'll learn how to resize your logo without losing quality, ensuring it looks sharp and professional in any application.
Understanding Raster Images vs. SVG for Your Logo
To effectively improve your logo, it's important to understand the difference between image types:
- Raster Images (Pixel-Based): Formats like JPEG, PNG, and WEBP are composed of a grid of pixels. Each pixel holds color information. When you try to resize a logo that's a raster image by enlarging it, the pixels are stretched, leading to blurriness, pixelation, and a general loss of quality. This makes it difficult to make your logo better quality if the starting resolution is too low.
- Scalable Vector Graphics (SVG): SVGs are an XML-based vector format. They use mathematical equations to define lines, curves, shapes, and colors. This means you can resize an SVG logo to any dimension – from a tiny icon to a large banner – and it will remain perfectly crisp and clear. This inherent ability to resize logo without losing quality is why converting your logo to SVG is crucial for modern branding.
Key Benefits of Converting Your Logo to SVG
Opting to convert your logo to SVG offers several advantages:
- Infinite Scalability: Resize logo without losing quality, ensuring sharpness at any size.
- Improved Quality: The vectorization process, combined with initial upscaling, helps make your logo better quality.
- Potentially Smaller File Sizes: For many logo designs, SVGs can be more compact than their high-resolution raster counterparts.
- Editability: Vector graphics are easily editable with appropriate software for color changes or shape adjustments.
- SEO Advantages: Text within SVGs can be indexed by search engines.
- Web Standard: SVGs are widely supported across all modern web browsers.
Step-by-Step Guide: From Low-Resolution to High-Quality SVG
Follow these steps to effectively upscale your logo, clean it up, and convert it to a functional SVG.
Step 1: Upscale Your Logo for Improved Detail
Directly vectorizing a very small or heavily compressed image often yields poor results. The first essential step is to upscale your logo to increase its pixel dimensions and clarity, which is fundamental to make your logo better quality before vectorization.
- For Moderately Sized but Low-Quality Logos: If your logo has some detail but needs a size boost and cleanup, free tools like this huggingface space can be a good starting point to resize your logo upwards.
- For Very Degraded, Tiny, or complex logos: When dealing with significant pixelation or artifacts, a generative-AI-powered generative upscaler is recommended. The generative upscalers are a mix between upscaling and full image generation, effectively enabling upscaling to any imaginable size with any amount of detail. These tools can intelligently reconstruct details and improve overall clarity, significantly helping to make your logo better quality. Consider using services like Upsampler.
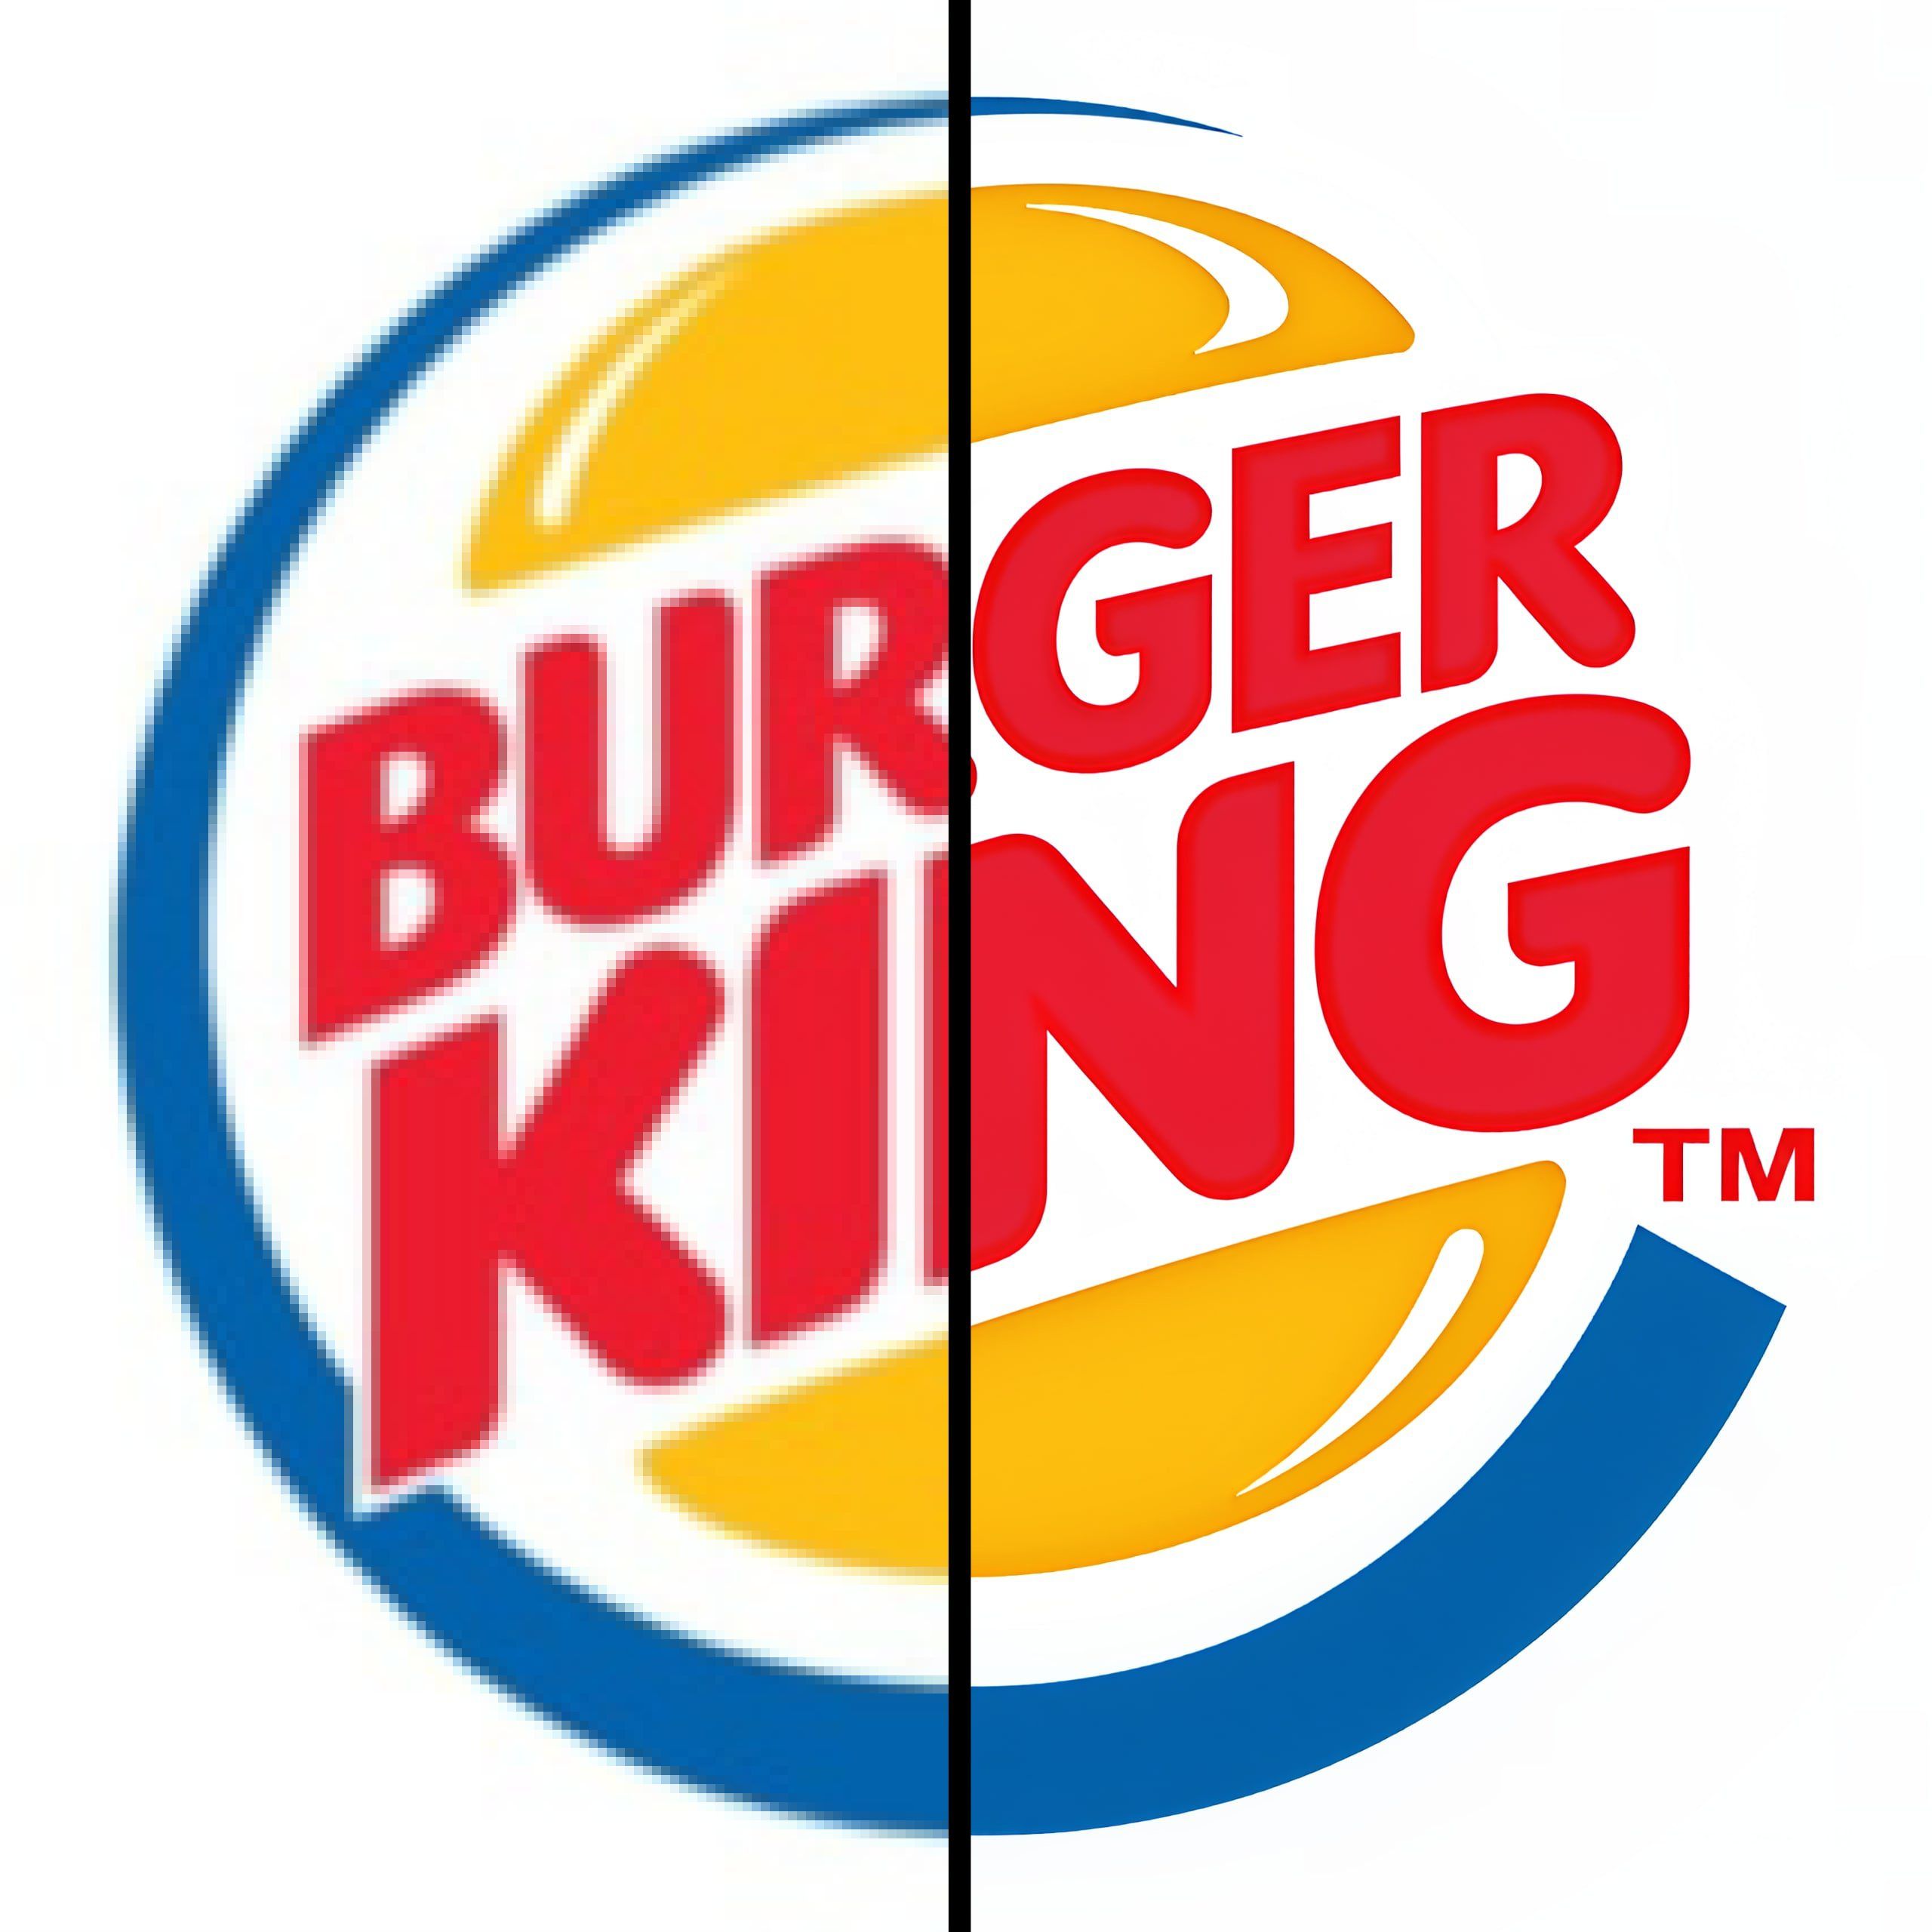
Workflow Aim: Our goal is to upscale the logo until it's around 6-9 megapixels. This provides a solid foundation for the vectorization process, making the conversion from logo to SVG much more accurate. It does not matter when the colors are slightly off, since this will be fixed in the vectorization step.


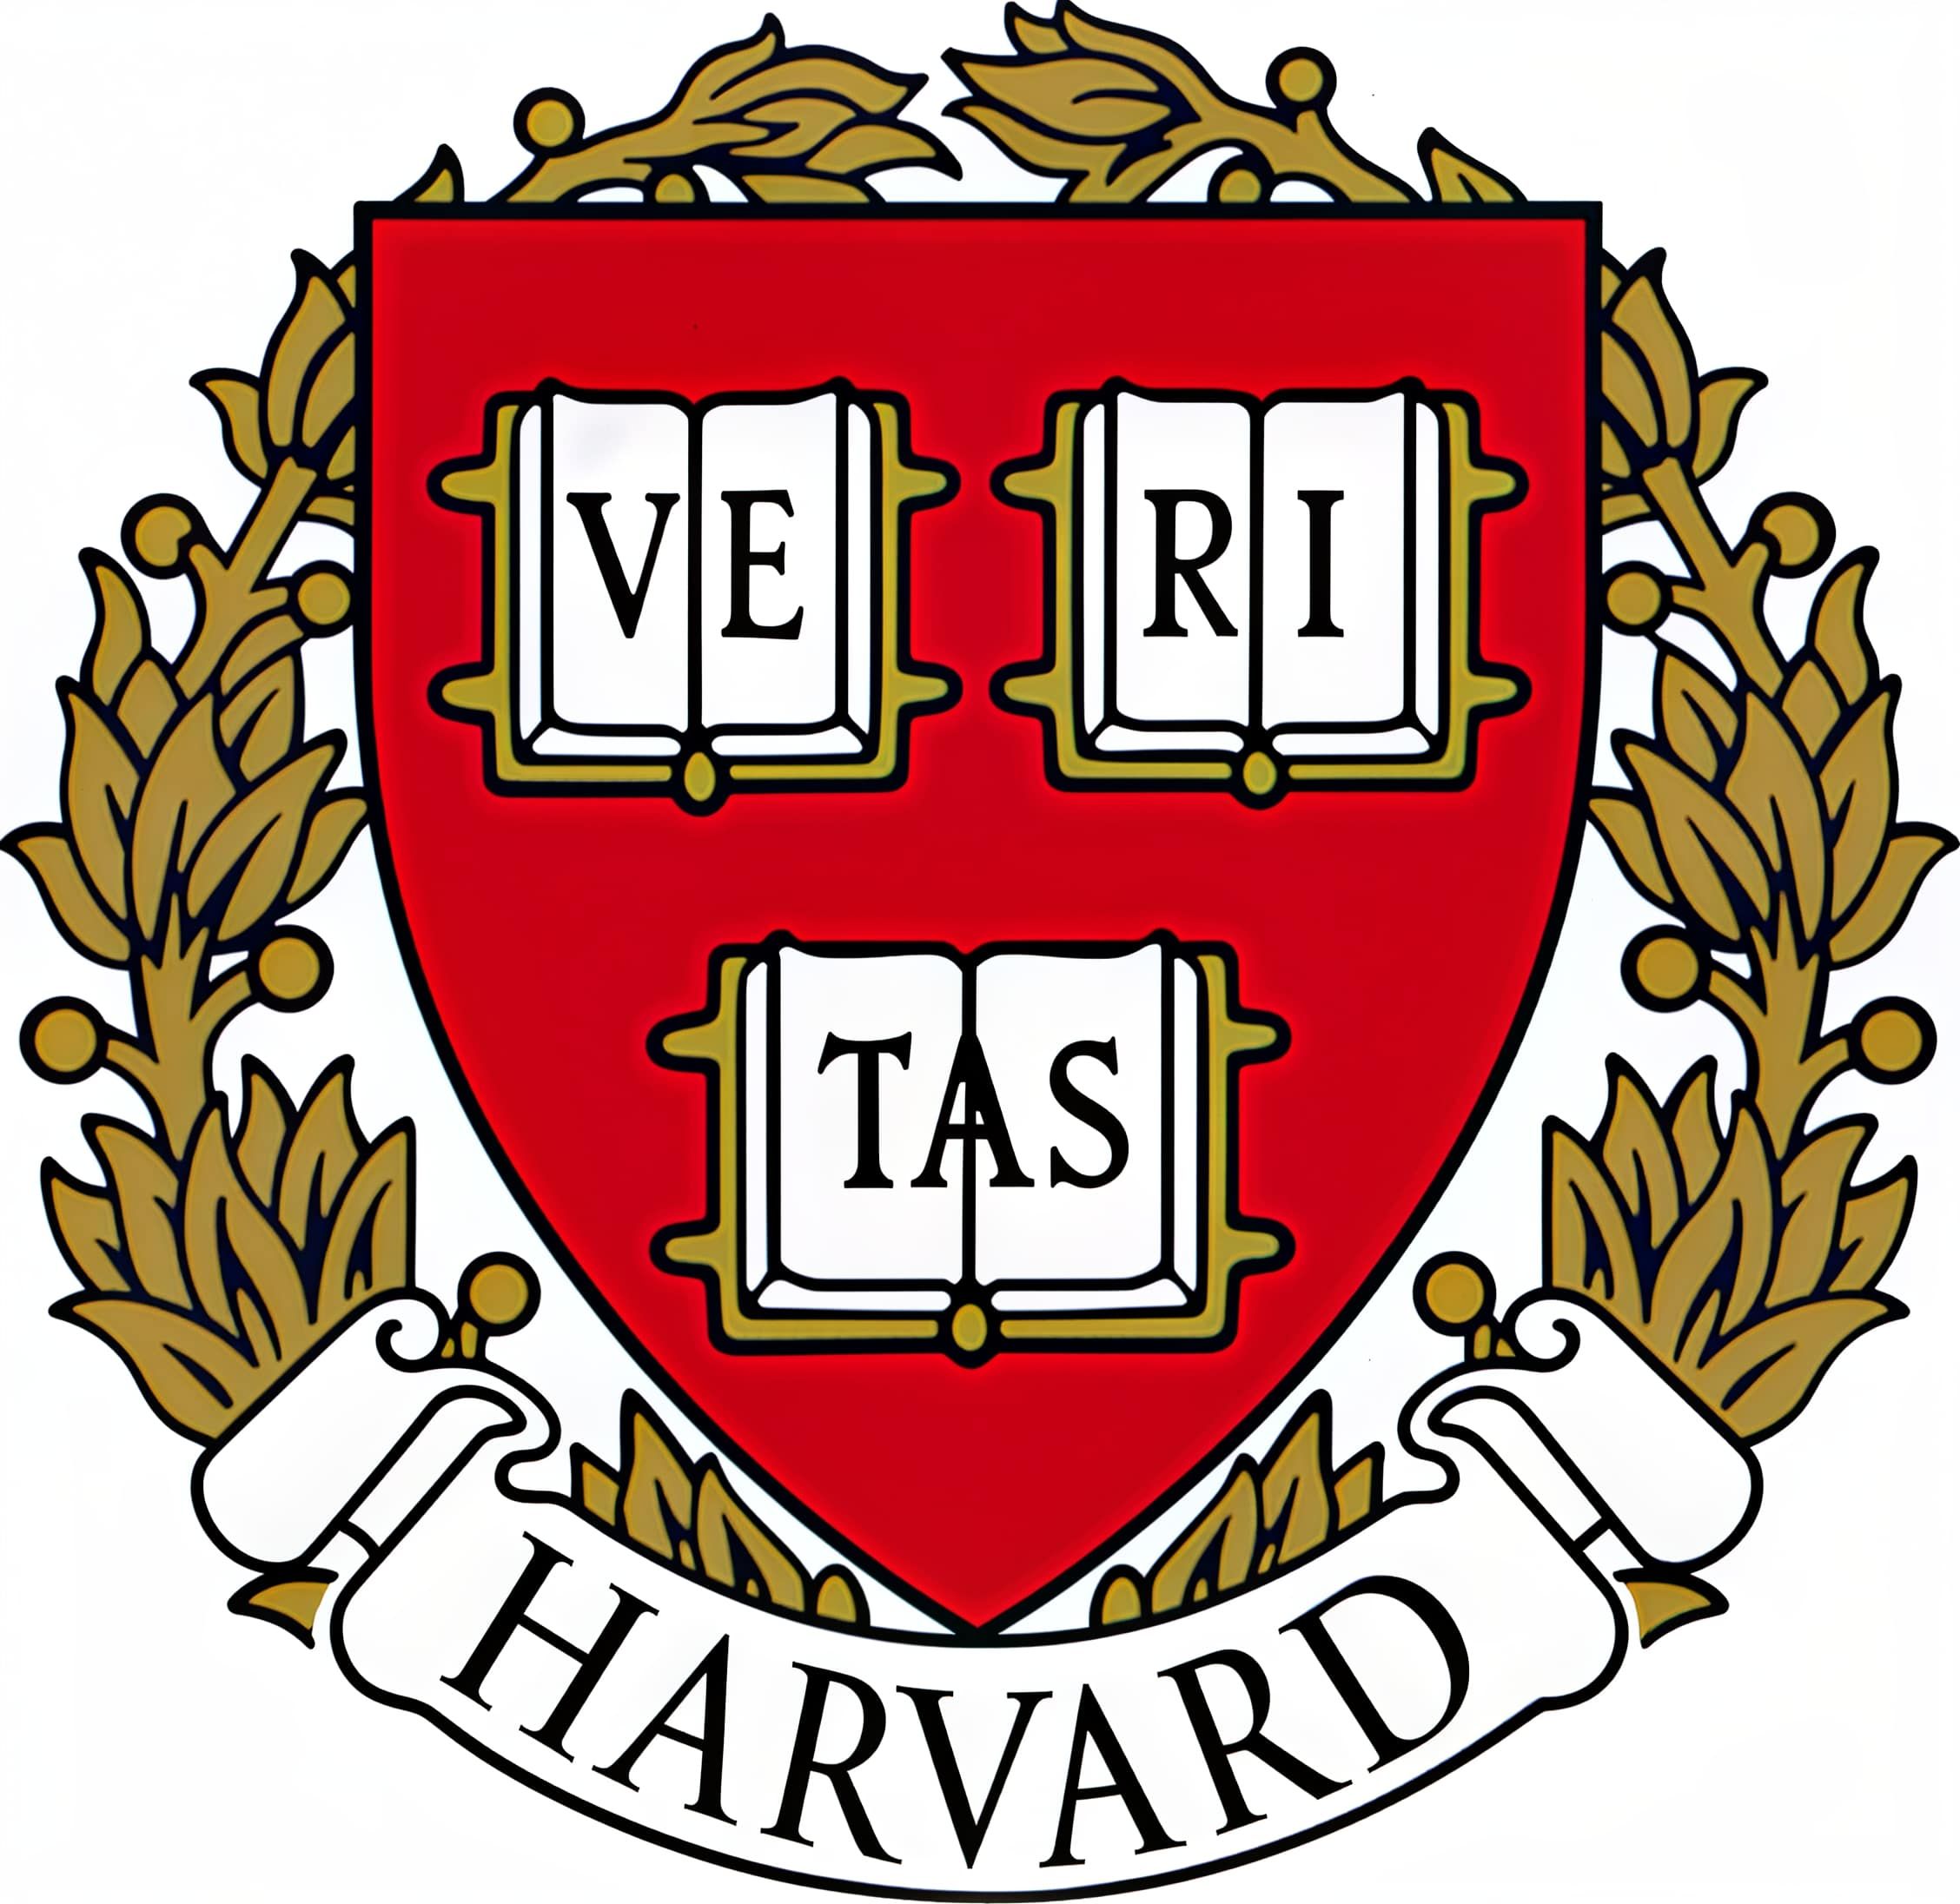
The logos were upscaled twice using the Dynamic Upscale tool on Upsampler first with an upscale factor of 4 and then a factor of 2.5. The Input Image Type was set to 'Anime', the Creativity to 2, the Resemblance to 6, and the other settings were left default.
Step 2: Clean Up and Refine in an Image Editor (e.g., Photopea)
Once upscaled, your logo will likely need some manual refinement. Photopea.com (a free, web-based editor) is an excellent tool for this stage, further helping to make your logo better quality.
- Open Your Upscaled Image: Load your improved raster logo into Photopea.
- Clean Artifacts and Sharpen Details:
- Pencil Tool (B): Use this for fine corrections. Hold
Altto sample a nearby correct color, then paint over imperfections or to sharpen edges. - Spot Healing Brush Tool (J): Effective for removing small, isolated blemishes or artifacts.
- Pencil Tool (B): Use this for fine corrections. Hold
- Address Text Issues:
- Manual Retouching (Pencil Tool): For slightly blurred text, carefully trace over it with the Pencil tool. Use
Shift+ click to draw straight lines. - Type Tool (T): If the original font is known or a close match can be found, it's often best to delete the rasterized text and re-type it using the Type Tool. This ensures perfectly crisp text in the final vector.
- Manual Retouching (Pencil Tool): For slightly blurred text, carefully trace over it with the Pencil tool. Use
- Refine Shapes: Use the Pencil or Eraser tool (E) with a hard brush to correct any imperfect curves or lines.
A thoroughly cleaned-up raster image is vital for a successful logo to SVG conversion.
Step 3: Vectorize the Bitmap Image in Photopea
With your raster image cleaned and refined, it's time to convert it into a vector format using Photopea's built-in vectorization tool. This process, also known as image tracing, analyzes the pixels and attempts to create corresponding paths and shapes.
-
Access Vectorization Tool: In Photopea, navigate to the menu bar and select
Image > Vectorize Bitmap.... This will open the vectorization dialog box. -
Adjust Vectorization Parameters: This is the most crucial part of the process. The quality of your SVG will depend heavily on these settings. Experimentation is key.
-
Number of Colors:
- What it does: This setting determines how many distinct colors the vectorizer will attempt to identify and use in the final SVG.
- How to use: Accurately count the distinct colors in your image (including shades and gradients if you want to represent them as solid colors). Input this number. Photopea will try to auto-detect colors, but it might not always be perfect, especially with gradients or subtle variations. Photopea recommends 4 to 20 colors.
- Correction: If Photopea misinterprets a color, click the grid icon (color palette). This allows you to see the auto-detected colors. You can click on an incorrect color swatch and manually input the correct RGBA (Red, Green, Blue, Alpha/transparency) value.
-
Image Type: This dropdown menu offers different algorithms optimized for various image styles. The Photopea interface refers to this as "Method."
- "Cartoon": This mode is generally best for typical logos or graphics with solid colors, clear outlines, and distinct shapes. It prioritizes creating clean, smooth paths and well-defined color areas. This is usually the recommended starting point for logo vectorization.
- "Photo": This mode is designed for more complex images with subtle gradients, textures, and a wider range of color variations, like photographs. When vectorizing a logo, you'd typically only use this if your logo has photographic elements or very intricate, painterly details. Using "Photo" mode on a simple logo can create an unnecessarily complex vector with too many small paths. For creating coloring pages from photos, "Photo" is the recommended method.
-
Reduce Noise:
- What it does: This helps to eliminate small, isolated groups of pixels that might be misinterpreted as intentional details, leading to tiny, unwanted vector shapes (artifacts) in the output.
- How to use: Choose this option if your preview shows many small, "speckle-like" vector elements. Be cautious, as it can remove small, important details from your image.
-
Merge Colors:
- What it does: "Merge Colors" attempts to combine colors that are very similar, reducing the total number of color regions.
- How to use: For logos, you generally want clean lines and distinct color areas. Experiment with these. Merging very similar shades can simplify the logo.
-
Options when "Photo" is selected as Image Type/Method: If you choose the "Photo" image type, additional or different options become available, tailored for complex imagery:
- "Coloring Book":
- What it does: This option prepares the image for a coloring book style. A key function is that it turns lots of tiny areas into several bigger areas, simplifying the image for outlining.
- How to use: Check this box when aiming for a "paint-by-numbers" or coloring page output from a photo. For the actual outlines and numbered areas, you'll also need to use the "..." (ellipsis) button settings. Here, you should typically disable "Fill" and enable "Stroke" (for the outlines) and "Labels" (for the color numbers and palette).
- "Polygon":
- What it does: This setting breaks the image down into a mosaic of geometric shapes (often triangles or polygons) rather than smooth curves. This creates a stylized, low-poly effect.
- How to use: Select this if you want a polygonal artistic style. The "Roughness" slider is then used in conjunction with this option to control the level of simplification and detail of these generated polygons. It's generally not suitable for creating a faithful vector representation of a standard logo unless you're specifically aiming for that artistic style.
- "Roughness":
- What it does: This controls how closely the vector paths follow the contours of the original pixel image.
- How to use: A lower roughness (or higher detail/precision) will try to adhere very closely to the pixel edges, potentially creating more complex paths and capturing noise. A higher roughness (lower detail/precision) will create smoother, more generalized paths, which can be good for simplifying but might lose fine details. When the "Polygon" option is chosen, "Roughness" specifically determines the complexity of these geometric shapes. Higher roughness leads to more simplified, larger polygons, while lower roughness creates more detailed, smaller polygons.
- "Coloring Book":
-
-
Preview and Iterate:
- Importance: The live preview window is your best friend. As you adjust each parameter, observe the changes in the preview.
- Inspect Closely: Zoom into the preview to scrutinize lines, curves, color boundaries, and small details. Are the lines smooth or jagged? Are the colors accurate? Are there any missing elements or new, unwanted artifacts?
- Iterate: Don't be afraid to try different combinations of settings. Vectorization is often an iterative process. What works for one image might not work for another. Adjust one setting at a time to understand its impact.
-
Confirm Conversion:
- Once you are satisfied with the appearance of the image in the preview window, click the ‘OK’ button. Photopea will then process the image based on your chosen settings and generate new vector layers in your Layers panel.
Step 4: Export as SVG
The final step is to save your vectorized logo.
1. Navigate to Export Options: In Photopea, select File > Export As > SVG.
2. Review SVG Settings: The default settings are often adequate.
3. Save Your SVG File: Click ‘Save’.


You now possess a high-quality SVG version of your logo. You can confidently resize this logo for any application without the fear of quality degradation, ensuring your branding remains consistent and professional. This process empowers you to resize your logo without losing quality and provides a future-proof asset.
More Articles
Increase DPI of Image Online without Losing Quality! Change Images to 300 DPI or More!
Discover how to effectively increase the DPI of your images online for free or with advanced AI tools. Learn to change images to 300 DPI or more for stunning, print-ready results without losing quality.
May 12, 2025
Best One Piece Manga Panels Upscaled to High Resolution for Wallpaper (4k, 8k, HD)
We've upscaled the most memorable panels from the One Piece manga into high-quality, black and white wallpaper exceeding 4K and 8K resolution.
May 3, 2025