Reconstructing detail, not just resizing
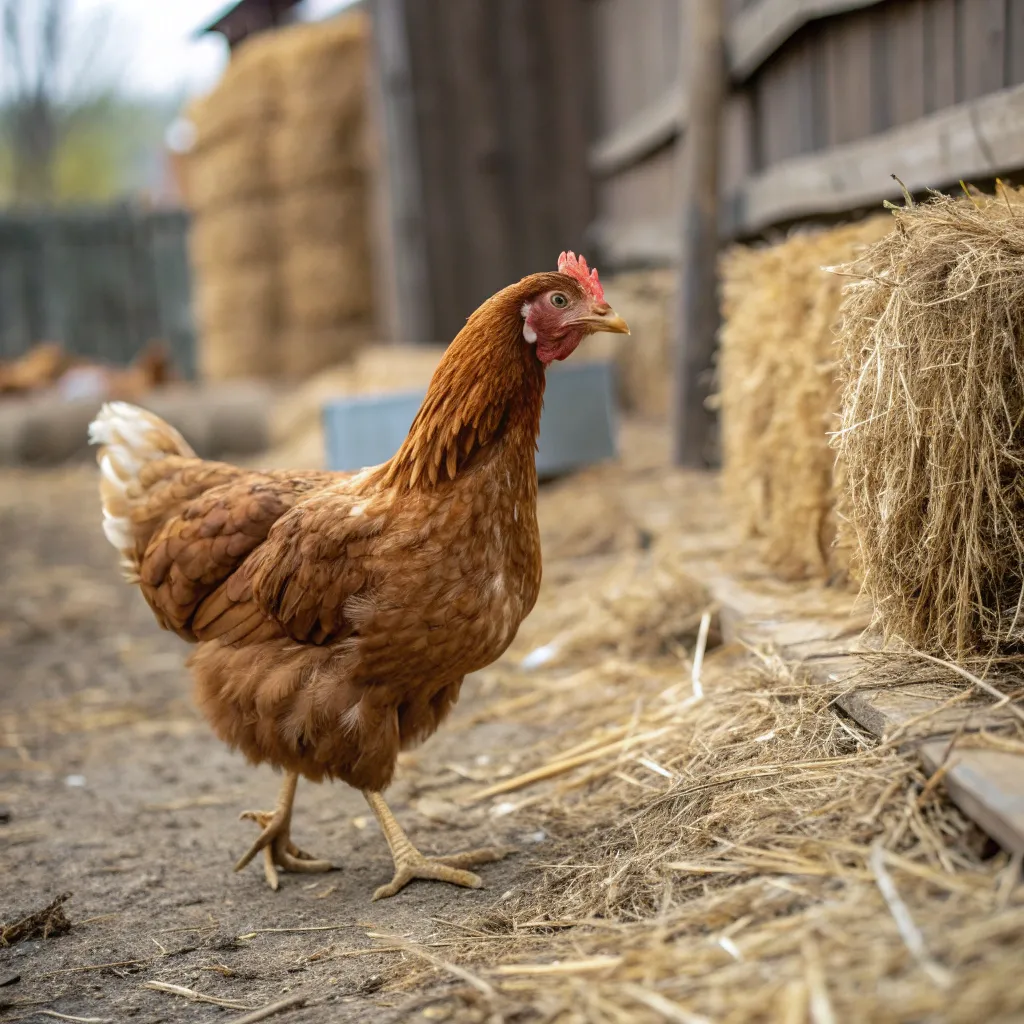
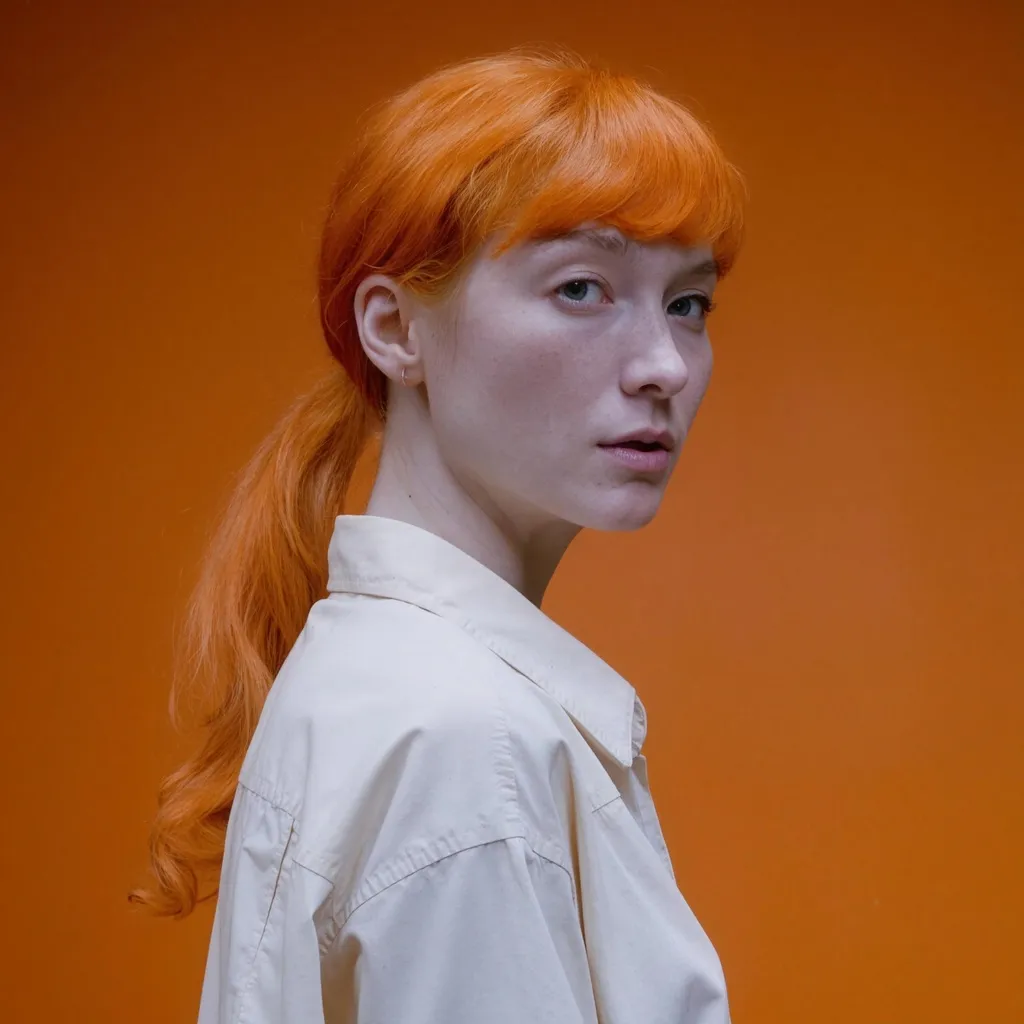
Stretching an image in an editor simply spreads the pixels you already have across a larger canvas, so edges turn soft and fine texture dissolves into blur. This tool works differently. The super-resolution models behind it were trained on millions of paired low-resolution and high-resolution images, so they have learned what real detail looks like and rebuild it as they enlarge your photo. Pores, fabric weave, foliage, and hard edges are reconstructed rather than smeared, which is why the output looks like it was captured at a higher resolution instead of merely blown up. Two models are offered. The default Seed VR 2 Small is a diffusion restorer that rebuilds texture in soft or heavily compressed photos; because it invents detail it cannot resolve, small text and faces can come back changed. The GAN model, the second pick, increases each side by 4x while staying faithful to what was photographed, turning a 1024px image into roughly 4K, and it is the right switch when the exact content matters.
What people upscale
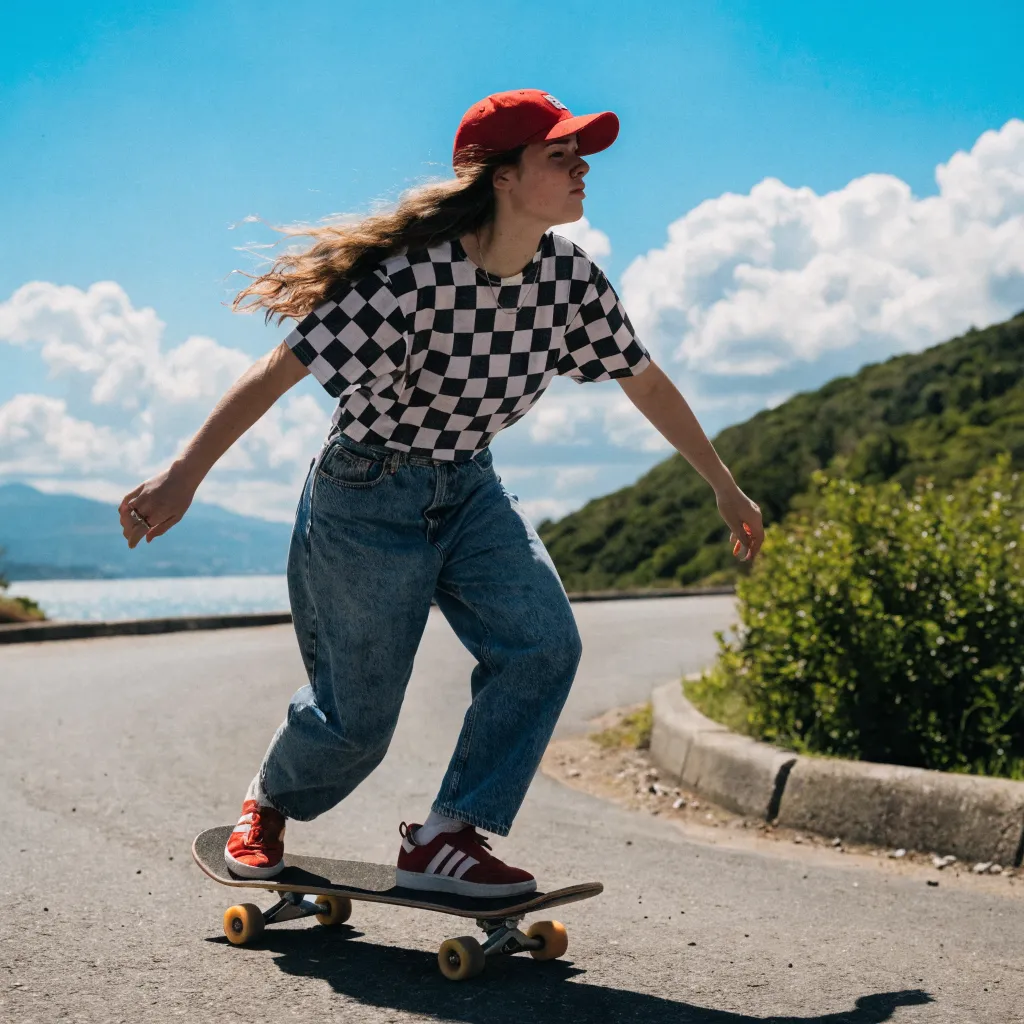
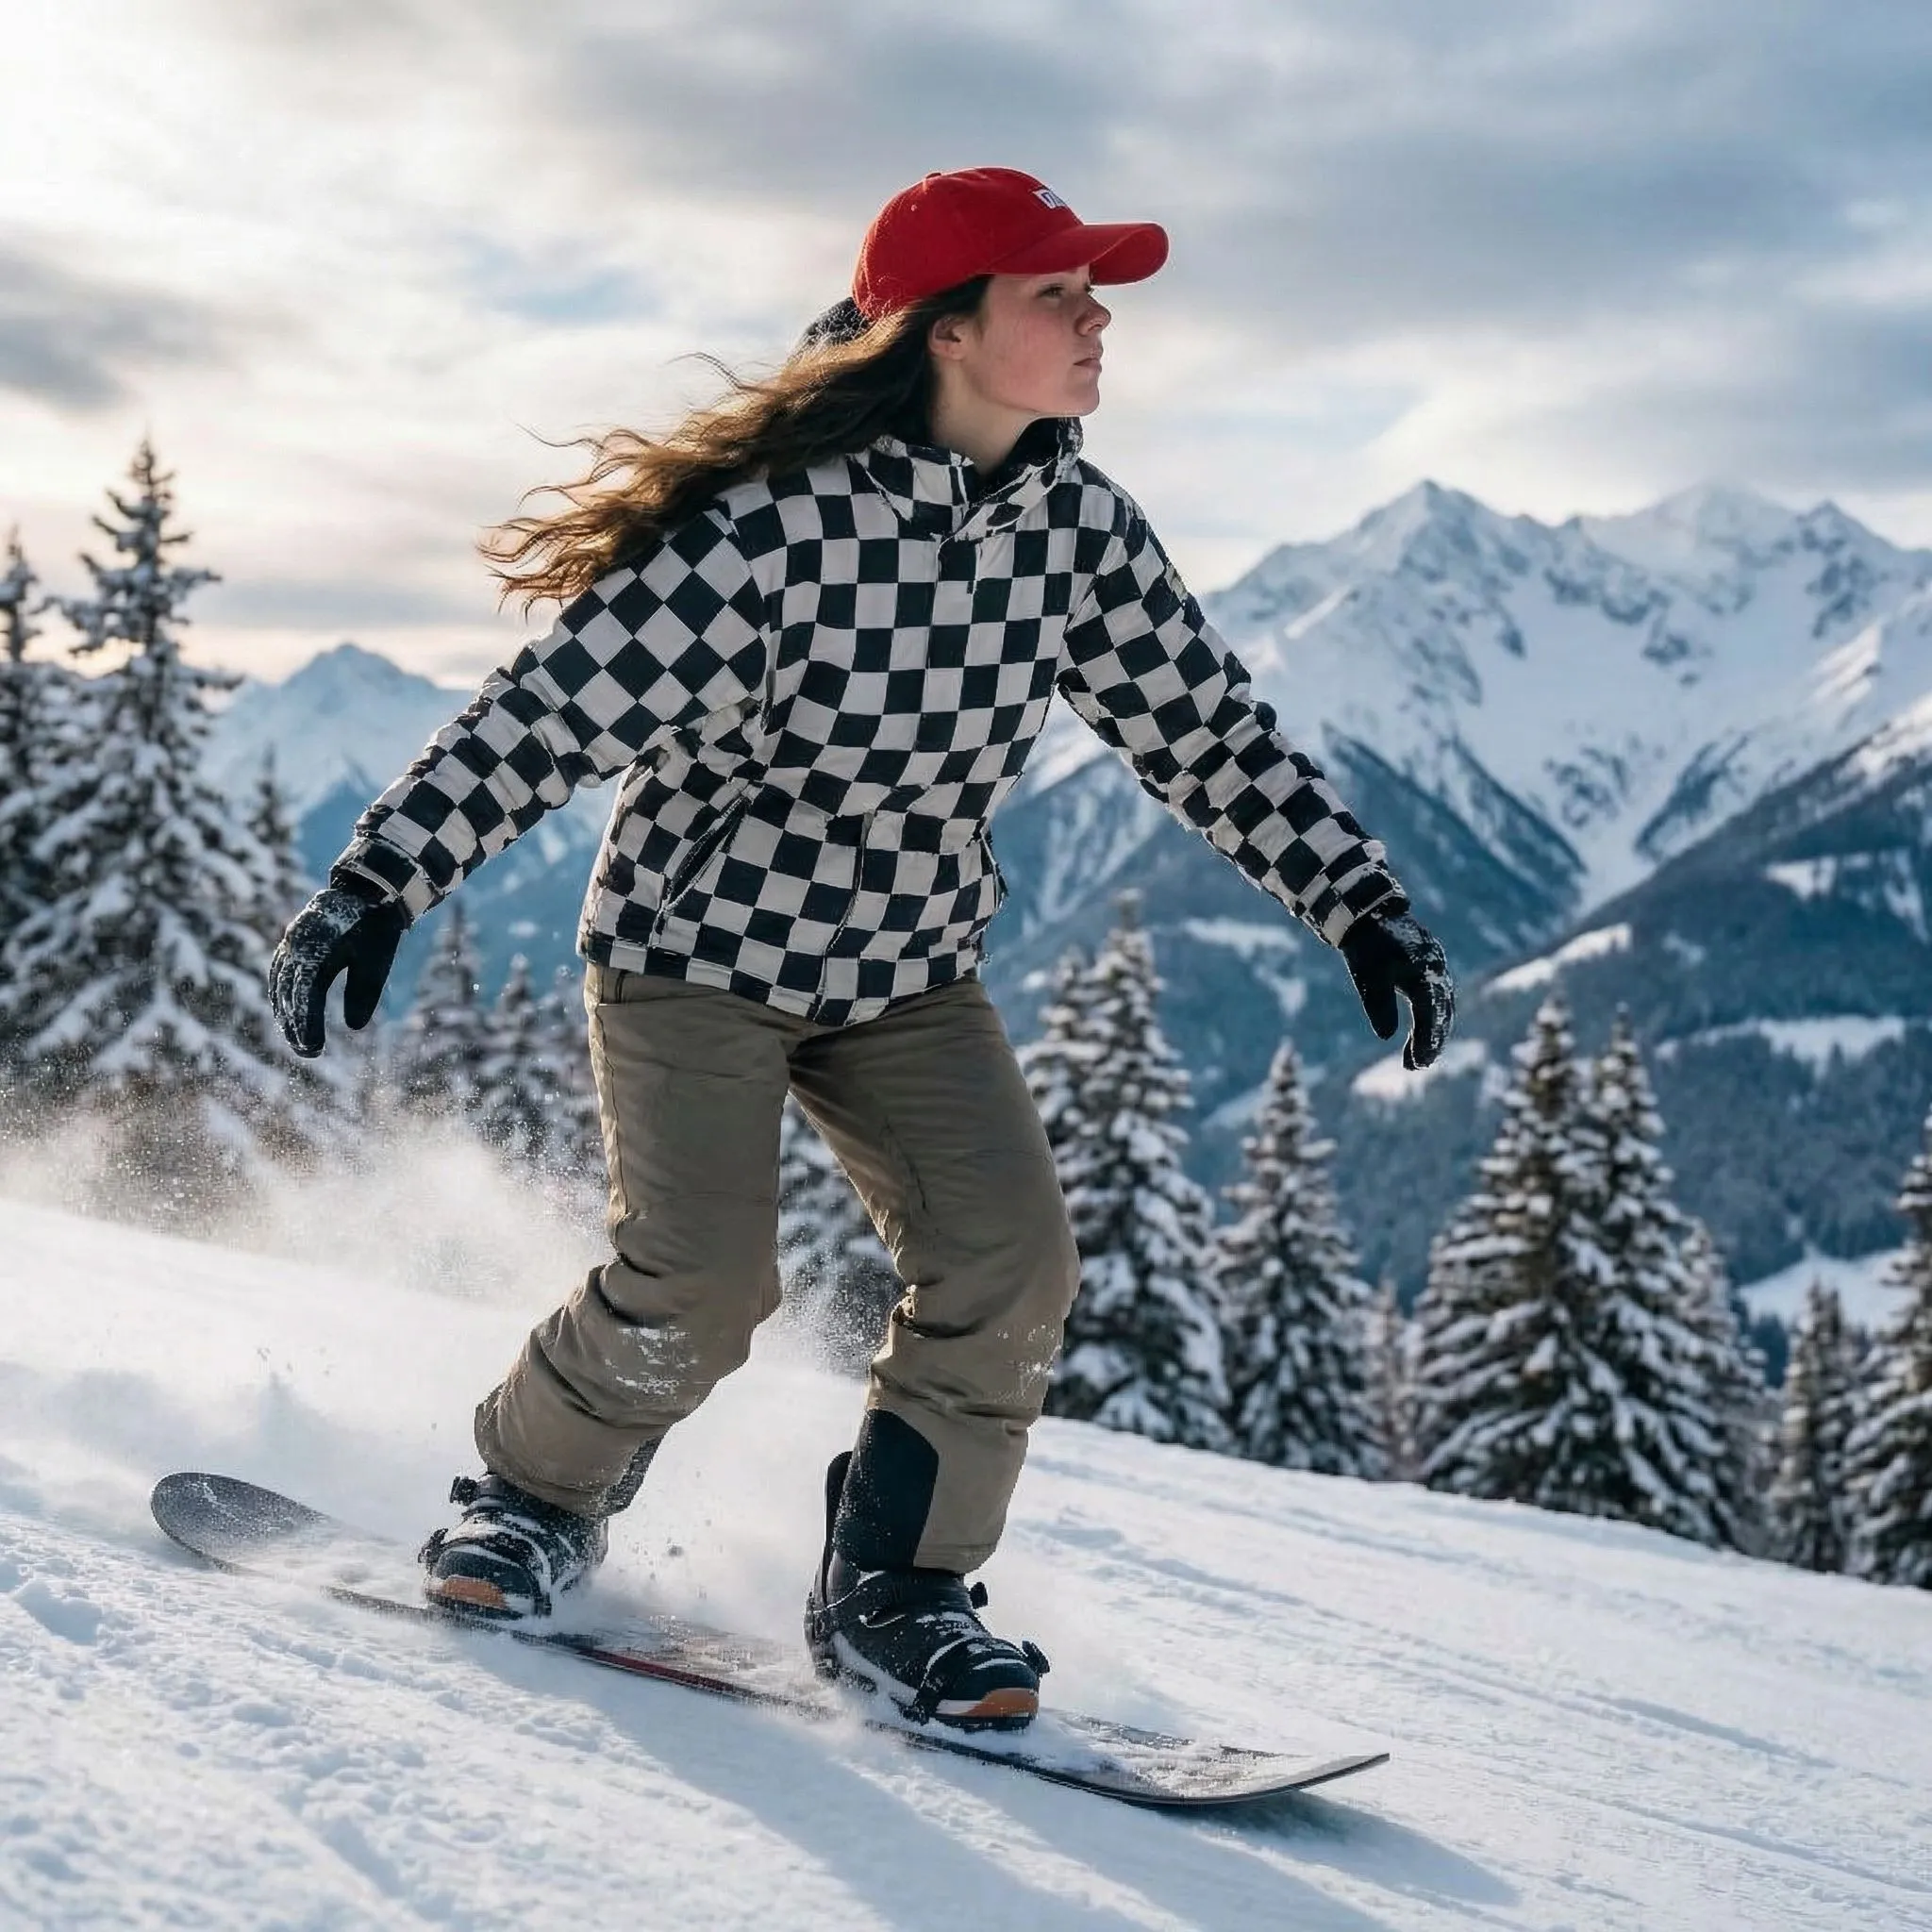
The most common job is rescuing small or soft photos so they hold up on modern high-resolution screens and in print. Old family scans and low-megapixel phone shots gain back crispness, while e-commerce sellers sharpen product photos so listings look clean at full zoom. Designers prepare artwork for large-format print where low resolution would show as visible blur, and social media creators enlarge thumbnails, avatars, and banners to meet platform size requirements without the pixelation. AI-generated art is another heavy use case, since many image generators output at modest resolutions and benefit from a sharp, detailed enlargement before they are posted or sold. When a photo needs a content change rather than more pixels, the free AI image editor makes prompt-based edits you can upscale afterwards. If the file you want to sharpen is a video rather than a photo, the free AI video upscaler does the same job frame by frame.
Converting images to 4K resolution
The GAN model enlarges each side by 4x in a single pass, which suits most photos and AI art. Anything 960px wide or more comes back at full 4K width, so it works as a free 4K image converter and photo enhancer for wallpapers, thumbnails, listings, and prints; enhancing a photo to 4K here means reconstructed detail, not a stretched copy. Seed VR 2 Small works to a fixed size instead: whatever you give it, the restored result comes back at about 2 megapixels, which is why it is the better pick for repairing small, blurry, or heavily compressed sources rather than for maximum output size. For an artistic enhancement that leans further into invented detail, there is also the free Clarity AI upscaler. It helps to set expectations by the source rather than the multiplier. A clean, well-lit image with defined edges improves the most, because the model has real structure to build on. Heavily compressed JPGs, tiny crops, and very blurry originals gain less, and pushing them hard can exaggerate compression blocks or introduce a slightly artificial look. Faces and small text are the tell-tale areas to check first, since they reveal both the gains and the limits of any upscaler. When in doubt, start with the cleanest version of the file you have rather than a screenshot or a re-saved copy.
When to use the premium upscalers
The free tool accepts JPG, PNG, and WebP up to 2048px per side and returns a watermark-free result with nothing to install and no account. Those limits keep the shared GPU time fast and fair. When you need more, the premium Creative and Precise Upscale on Upsampler.com go far beyond it. They support inputs up to 100 megapixels, dedicated face enhancement that restores realistic eyes and skin, and far larger outputs than the free models can produce. They also remove the daily usage limits, so they are the right choice for batch work, large prints, and professional delivery where maximum quality and output size matter.