
Specialized Upscaling for Film Photographers and Archivists
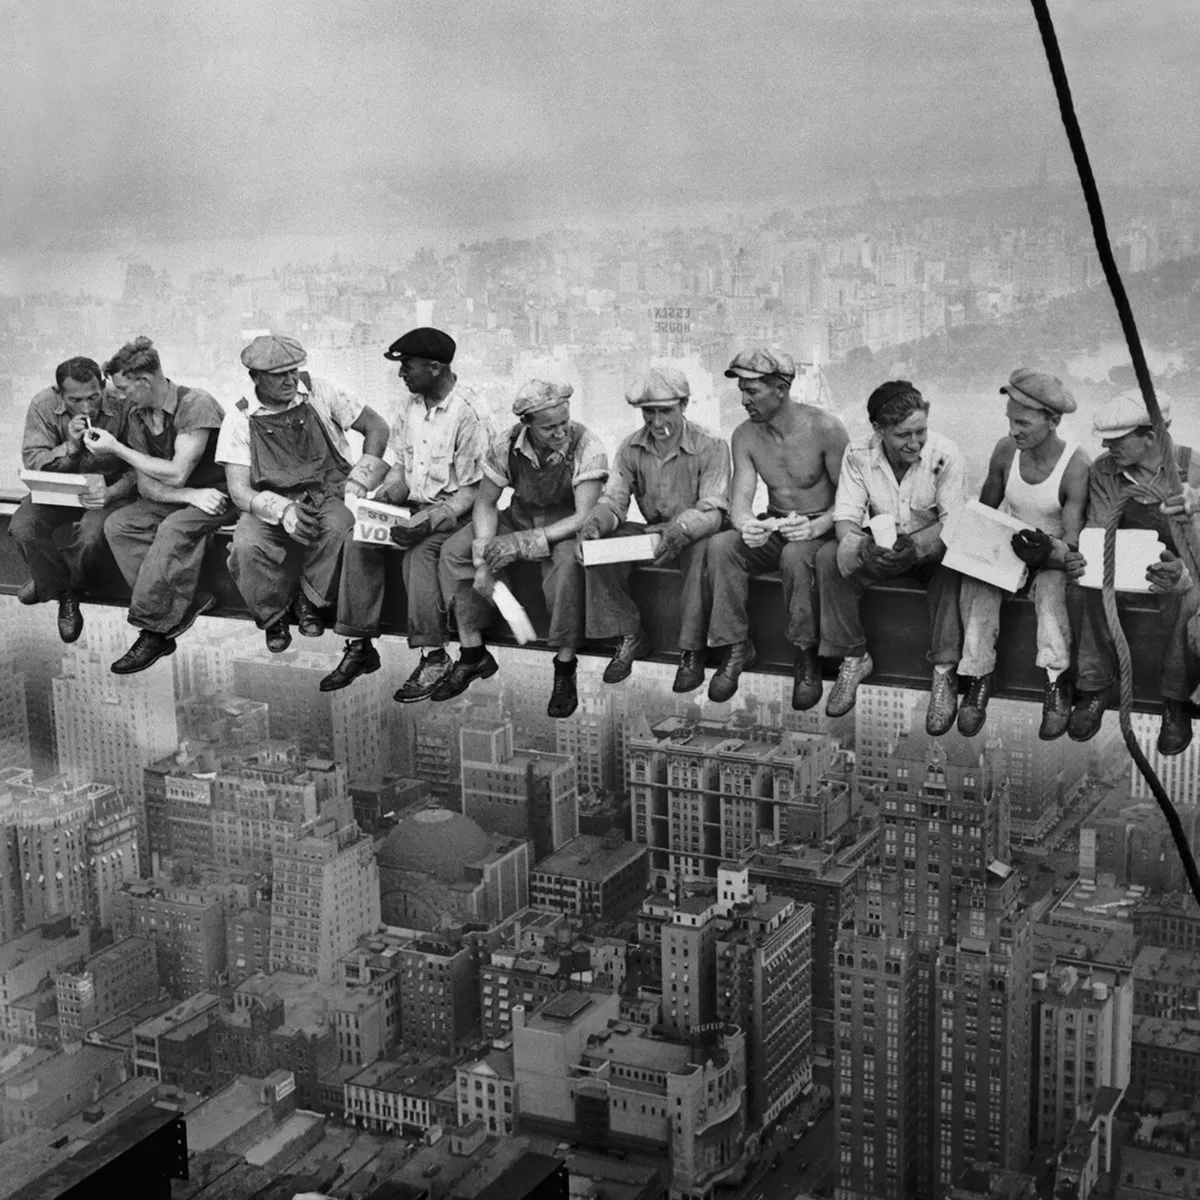
Film photography represents decades of photographic history and continues to thrive among enthusiasts who appreciate its unique aesthetic qualities including organic grain structure, rich color rendering, and the tactile process of shooting analog. However, digitizing film presents challenges: flatbed scanners and dedicated film scanners have resolution limits, older scans from years past don't meet modern standards, and simply enlarging scanned film results in visible grain that overwhelms fine details. Upsampler addresses these issues with AI technology trained to understand film photography's distinctive characteristics. The upscaler recognizes film grain patterns from various film stocks (Kodak Tri-X, Portra 400, Fuji Provia, Cinestill 800T, Ilford Delta) and preserves them appropriately rather than eliminating or exaggerating this essential element of film aesthetic. It enhances the actual image content including facial features, landscape details, and architectural elements while respecting film's organic nature. Whether you're digitizing family photo archives spanning generations, preparing fine art film photography for gallery exhibition, scanning street photography shot on Leica M-series cameras, creating high-resolution prints from medium format wedding photography, or archiving documentary work shot on film, Upsampler bridges the analog-digital divide with intelligence and respect for photographic tradition.