Blog
Latest posts from Upsampler.
Create Your Own Custom Pet Portraits with ChatGPT
Learn how to easily create custom AI pet portraits from photos of your dog, cat, or any pet using GPT-4o image generation. These unique artworks can be printed on wall art or other products, making them the perfect personalized gift for pet lovers.
Admin
@lucak5s

In this blog post, I’ll walk you through how to turn photos of your pet into custom artworks in styles like Star Wars, anime, royal portraits, funny Renaissance oil paintings, and more. For this, I’ll share some useful ChatGPT prompts you can copy and paste, and show you how to increase the resolution and quality of your images for high-quality print results.
1. ChatGPT Image Generation
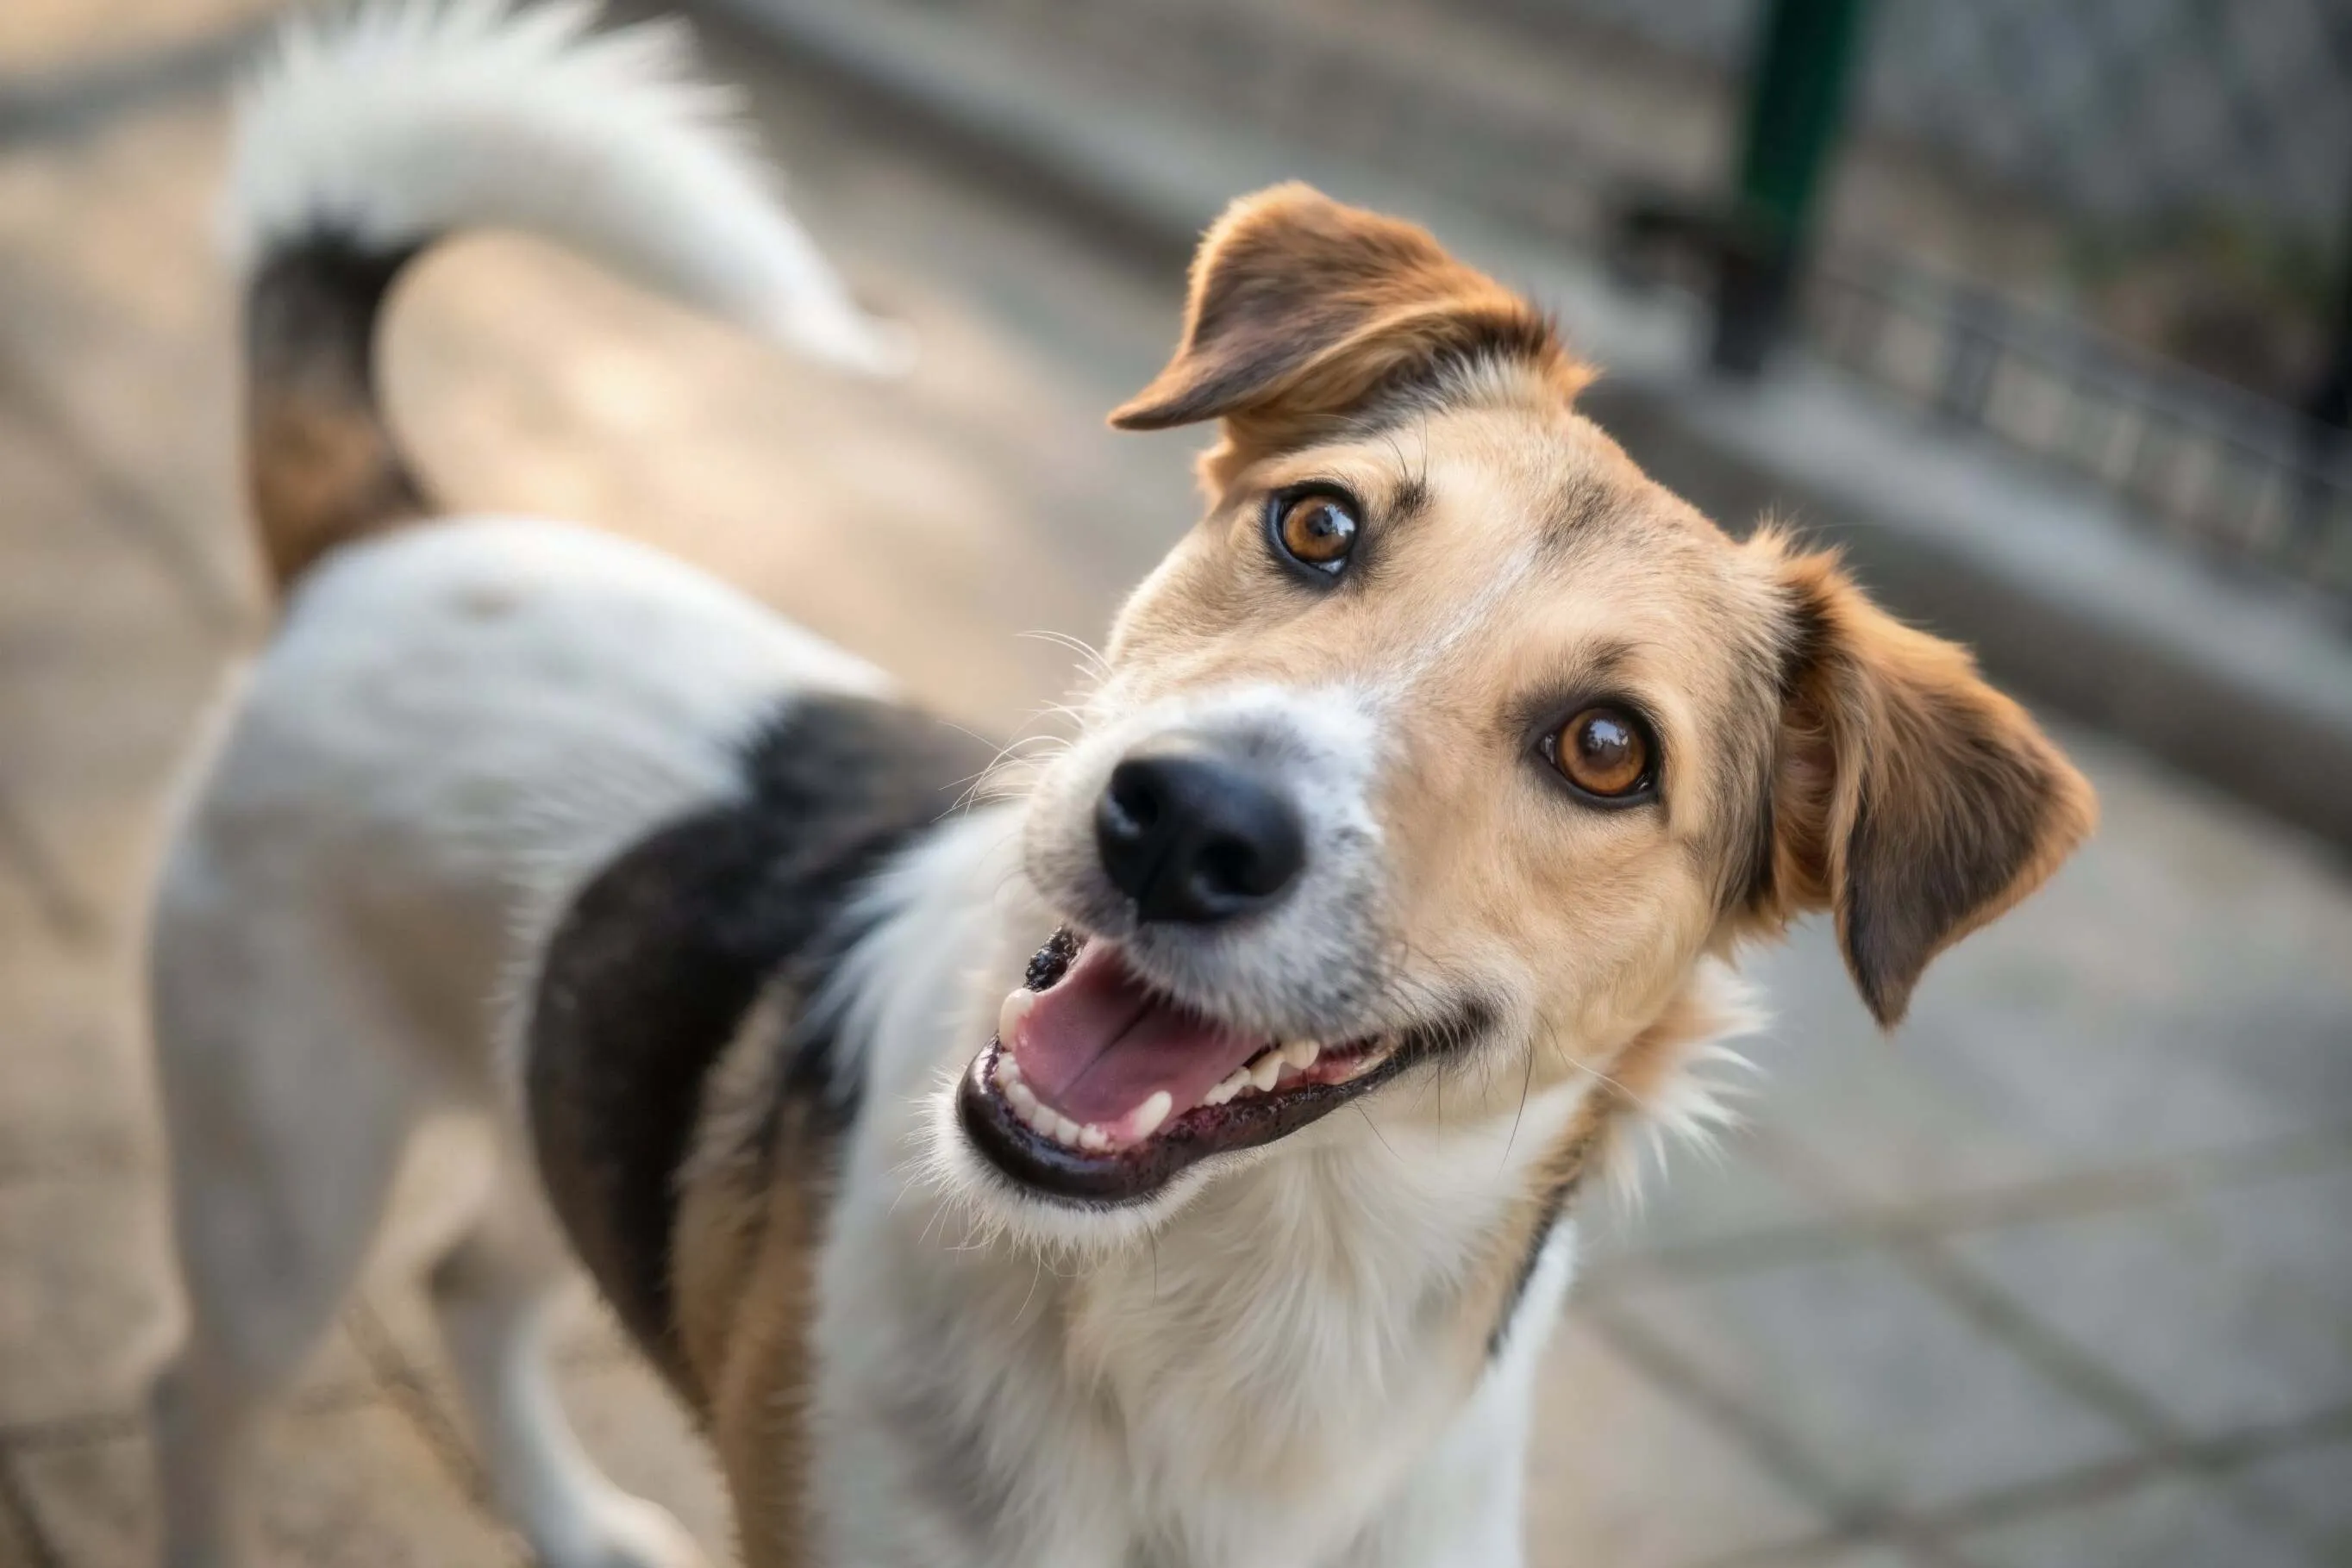
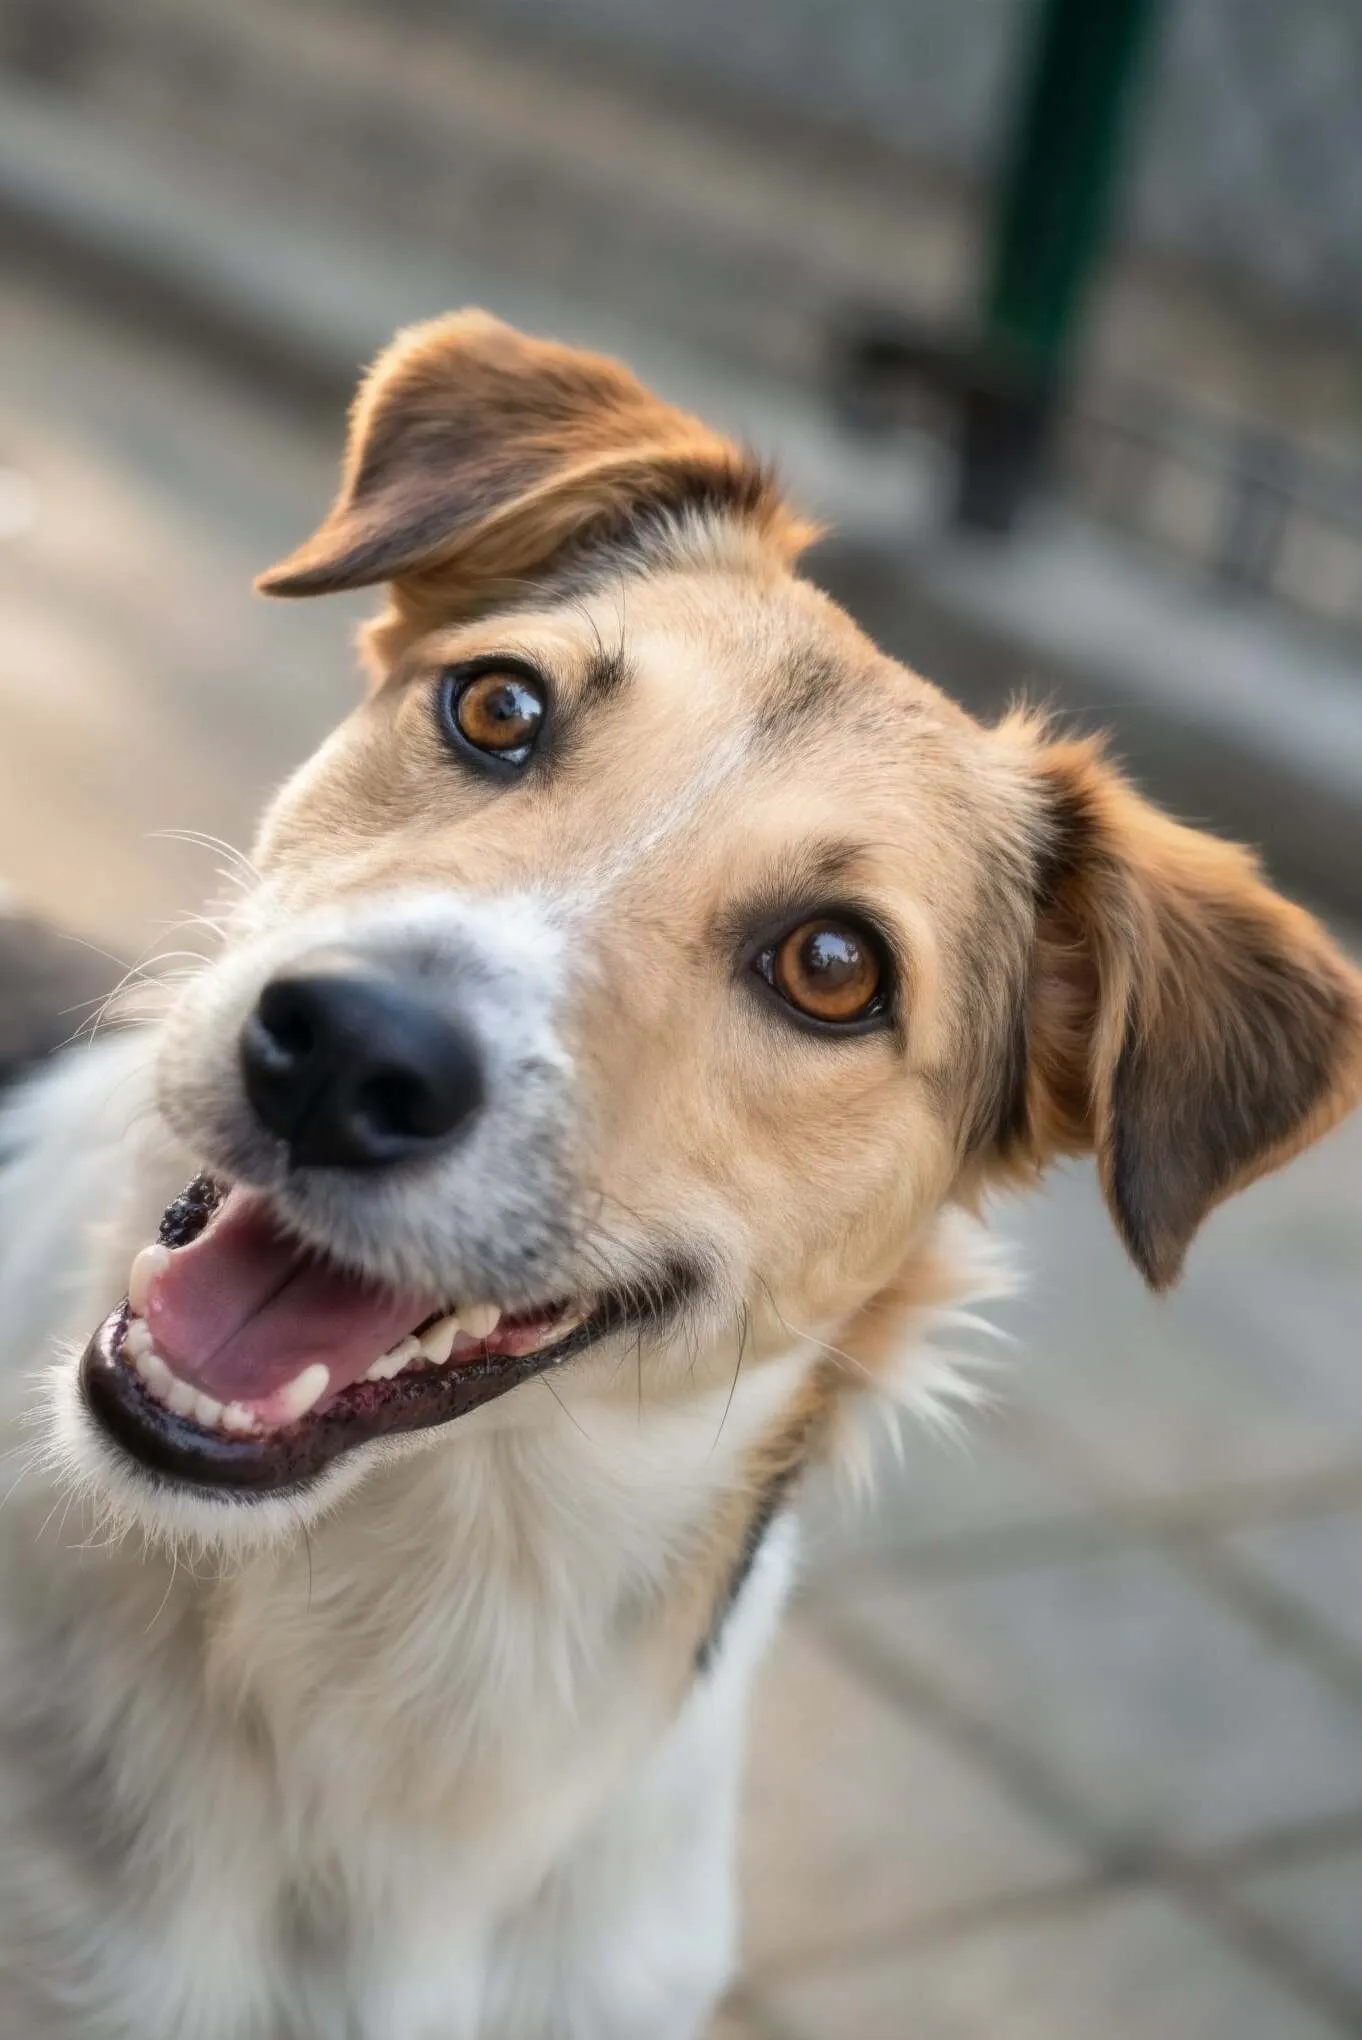
First, let’s create the portrait itself. Choose a good close-up photo of your pet (images taken from too far away don’t work as well because the AI changes the likeness too much).
Once you have your photo ready, head over to sora.com. As of March 29th, 2025, image generation is very limited for free users, but according to Sam Altman, this will change soon.
Here are a few example prompts and how they transform pet photos into portraits:
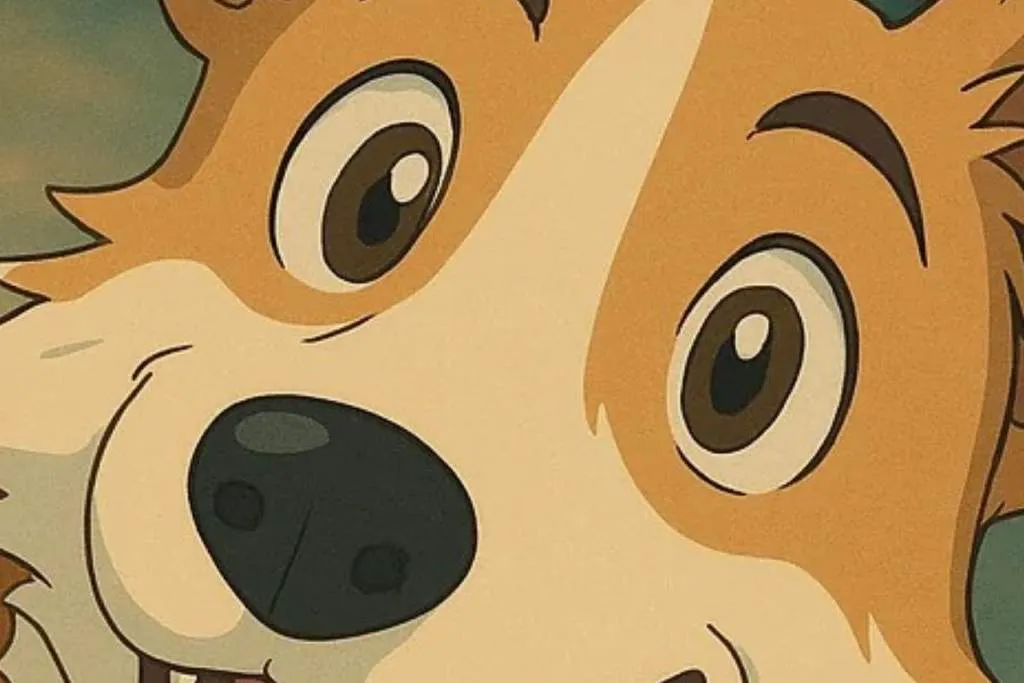
🐶 Dog
Turn this dog into studio ghibli style.

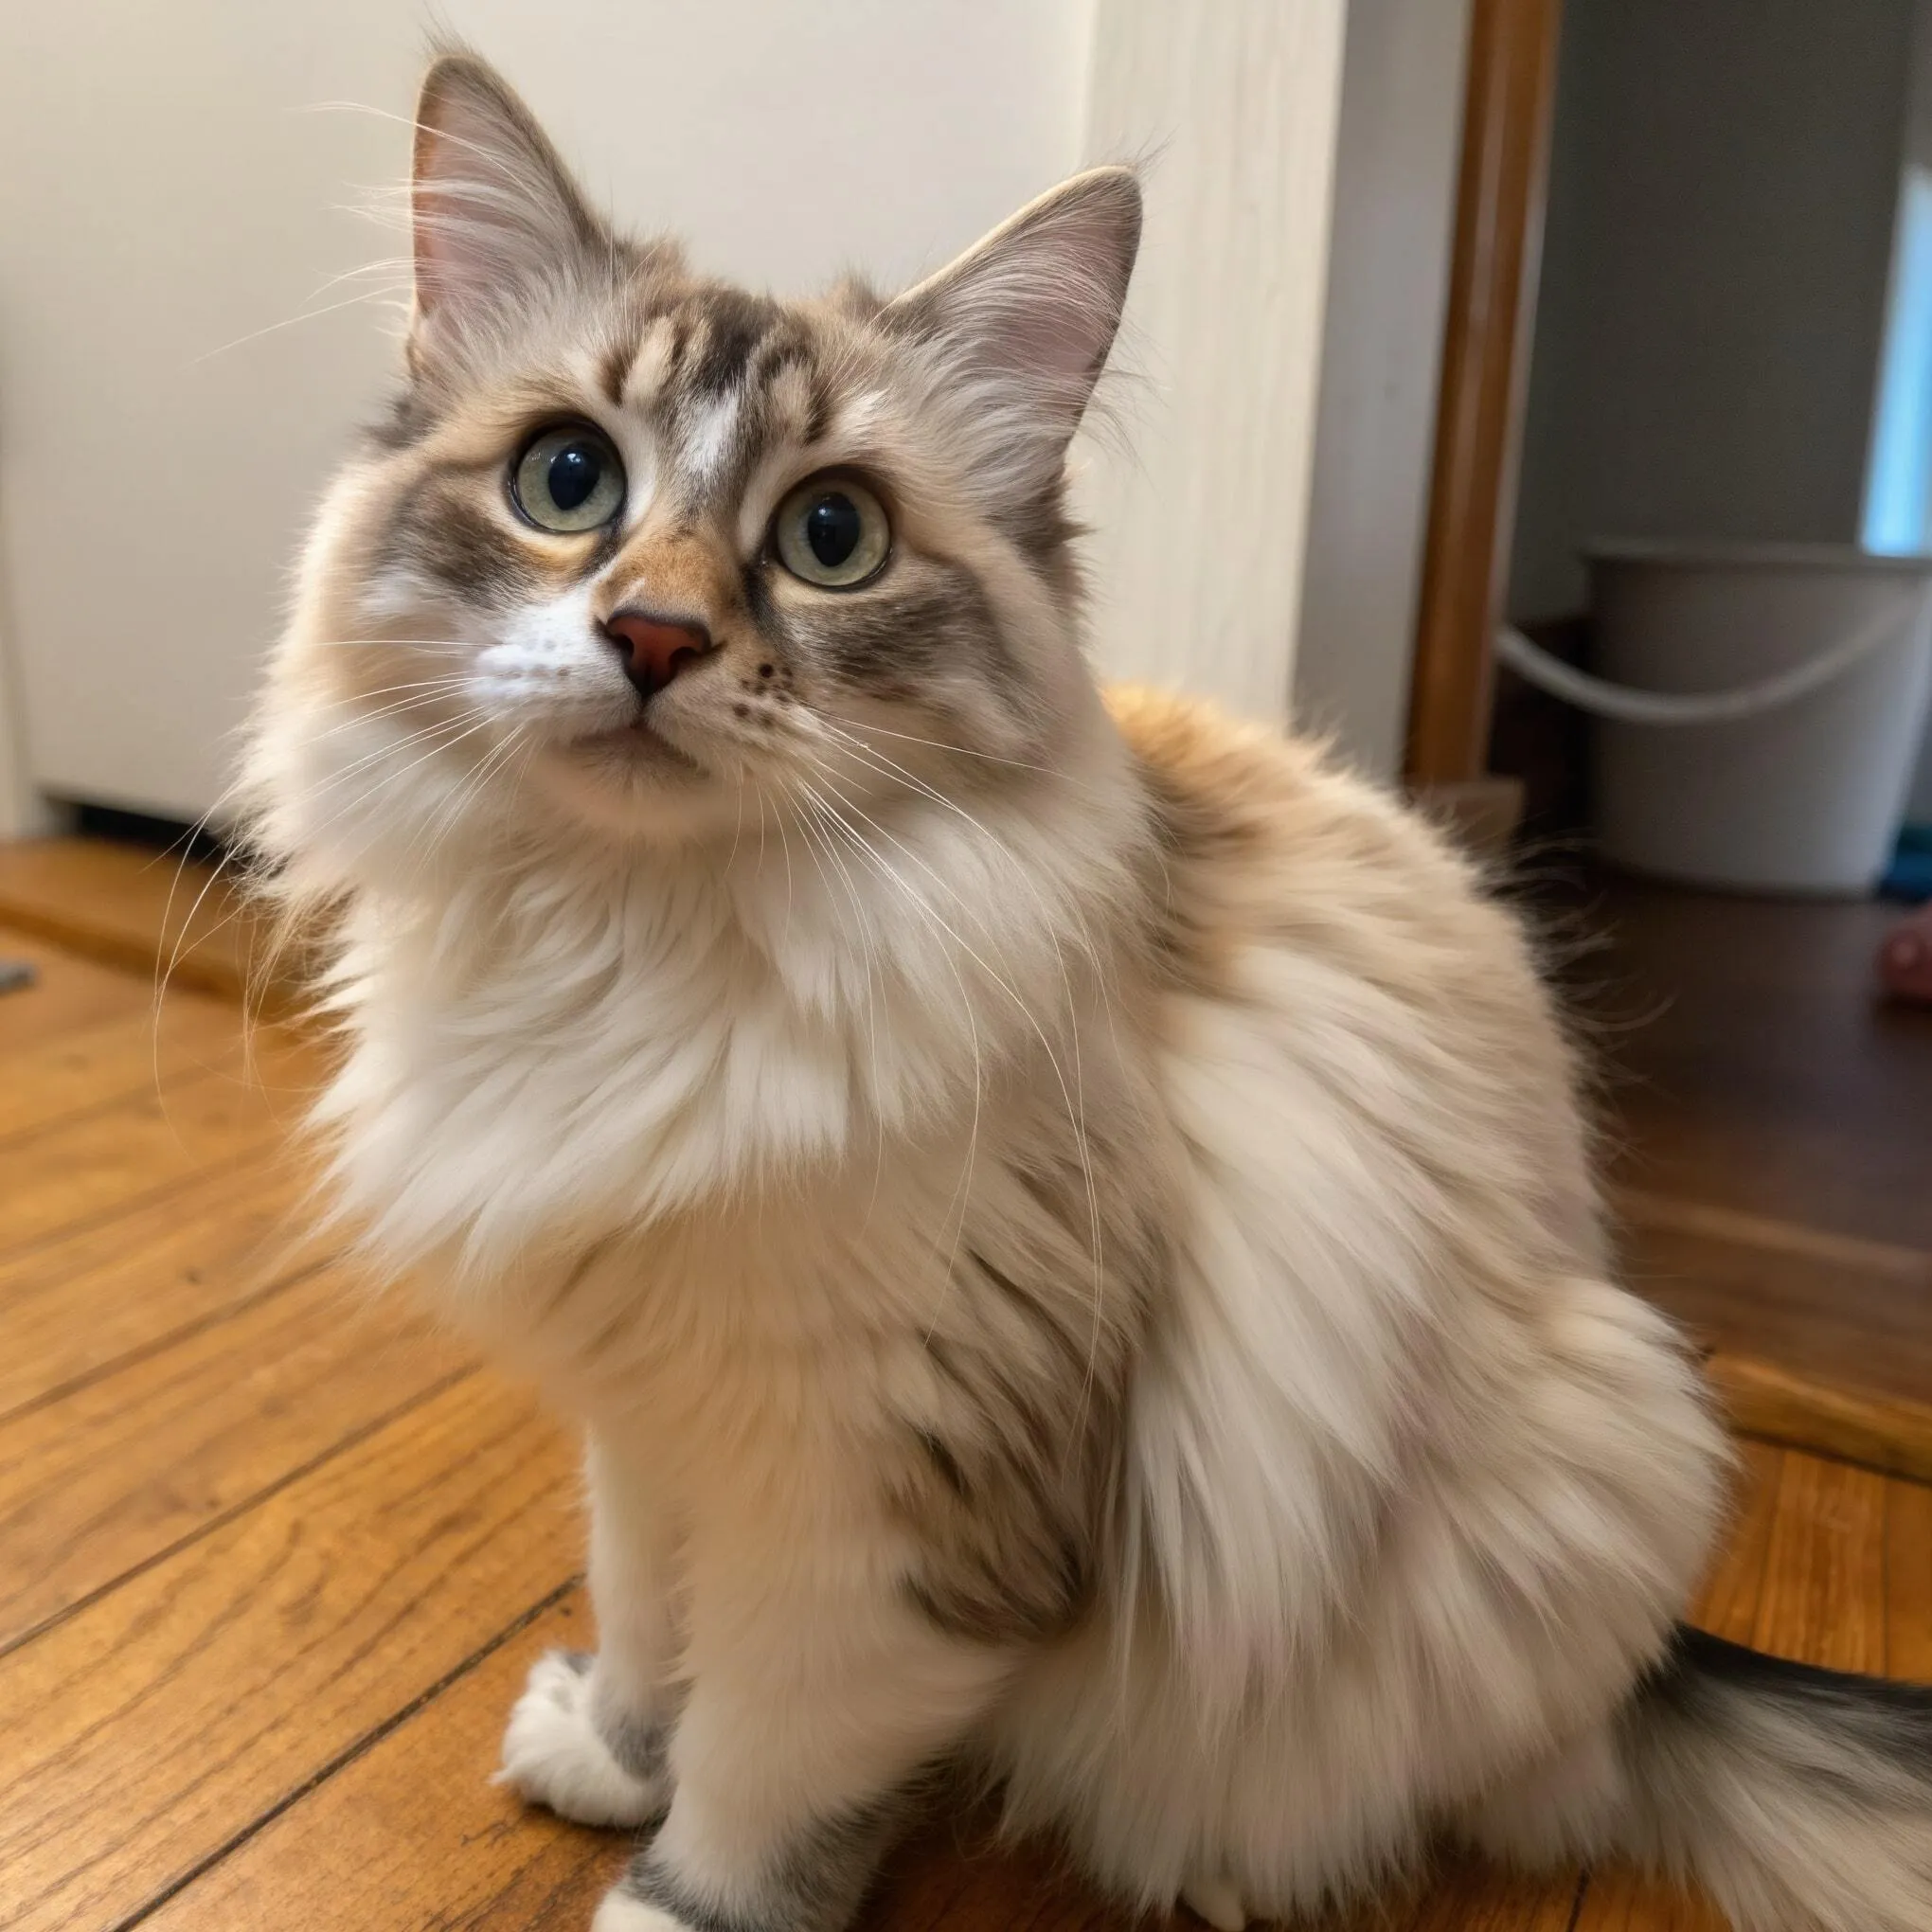
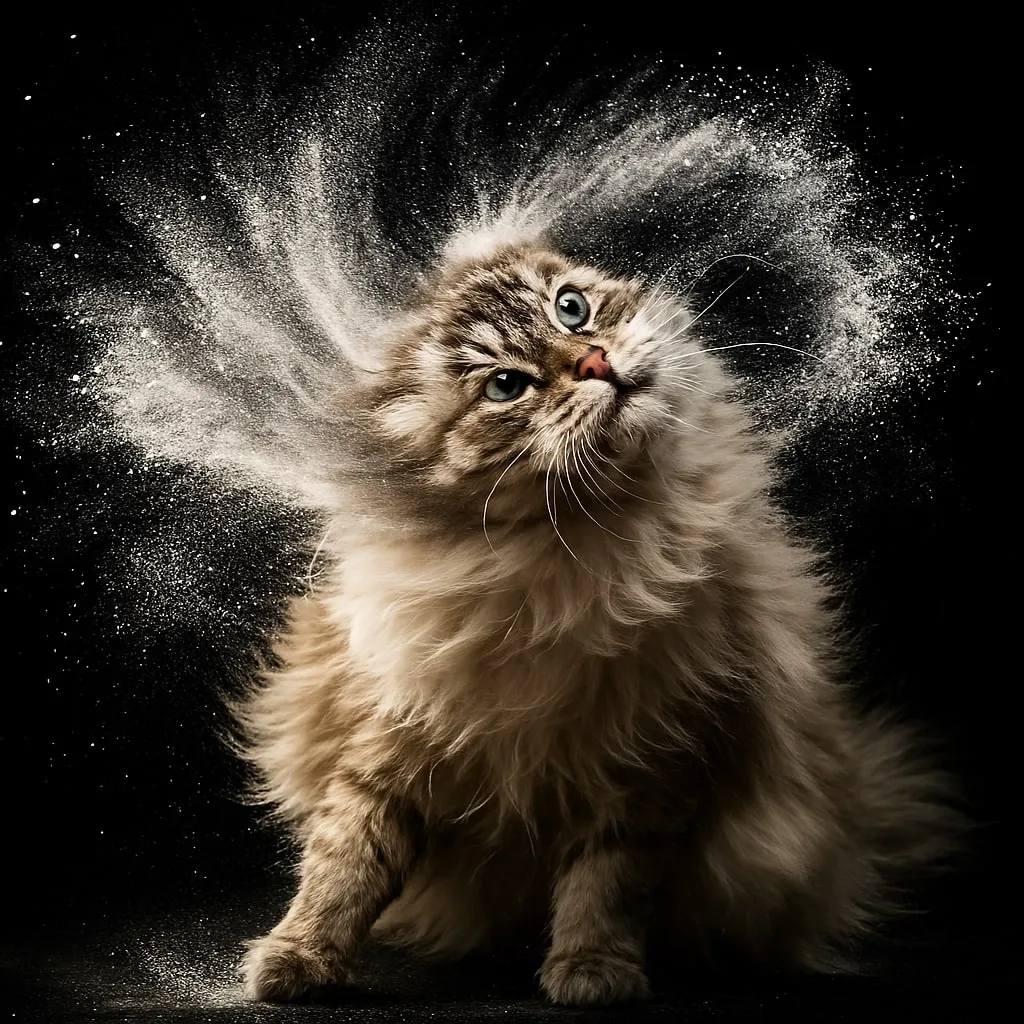
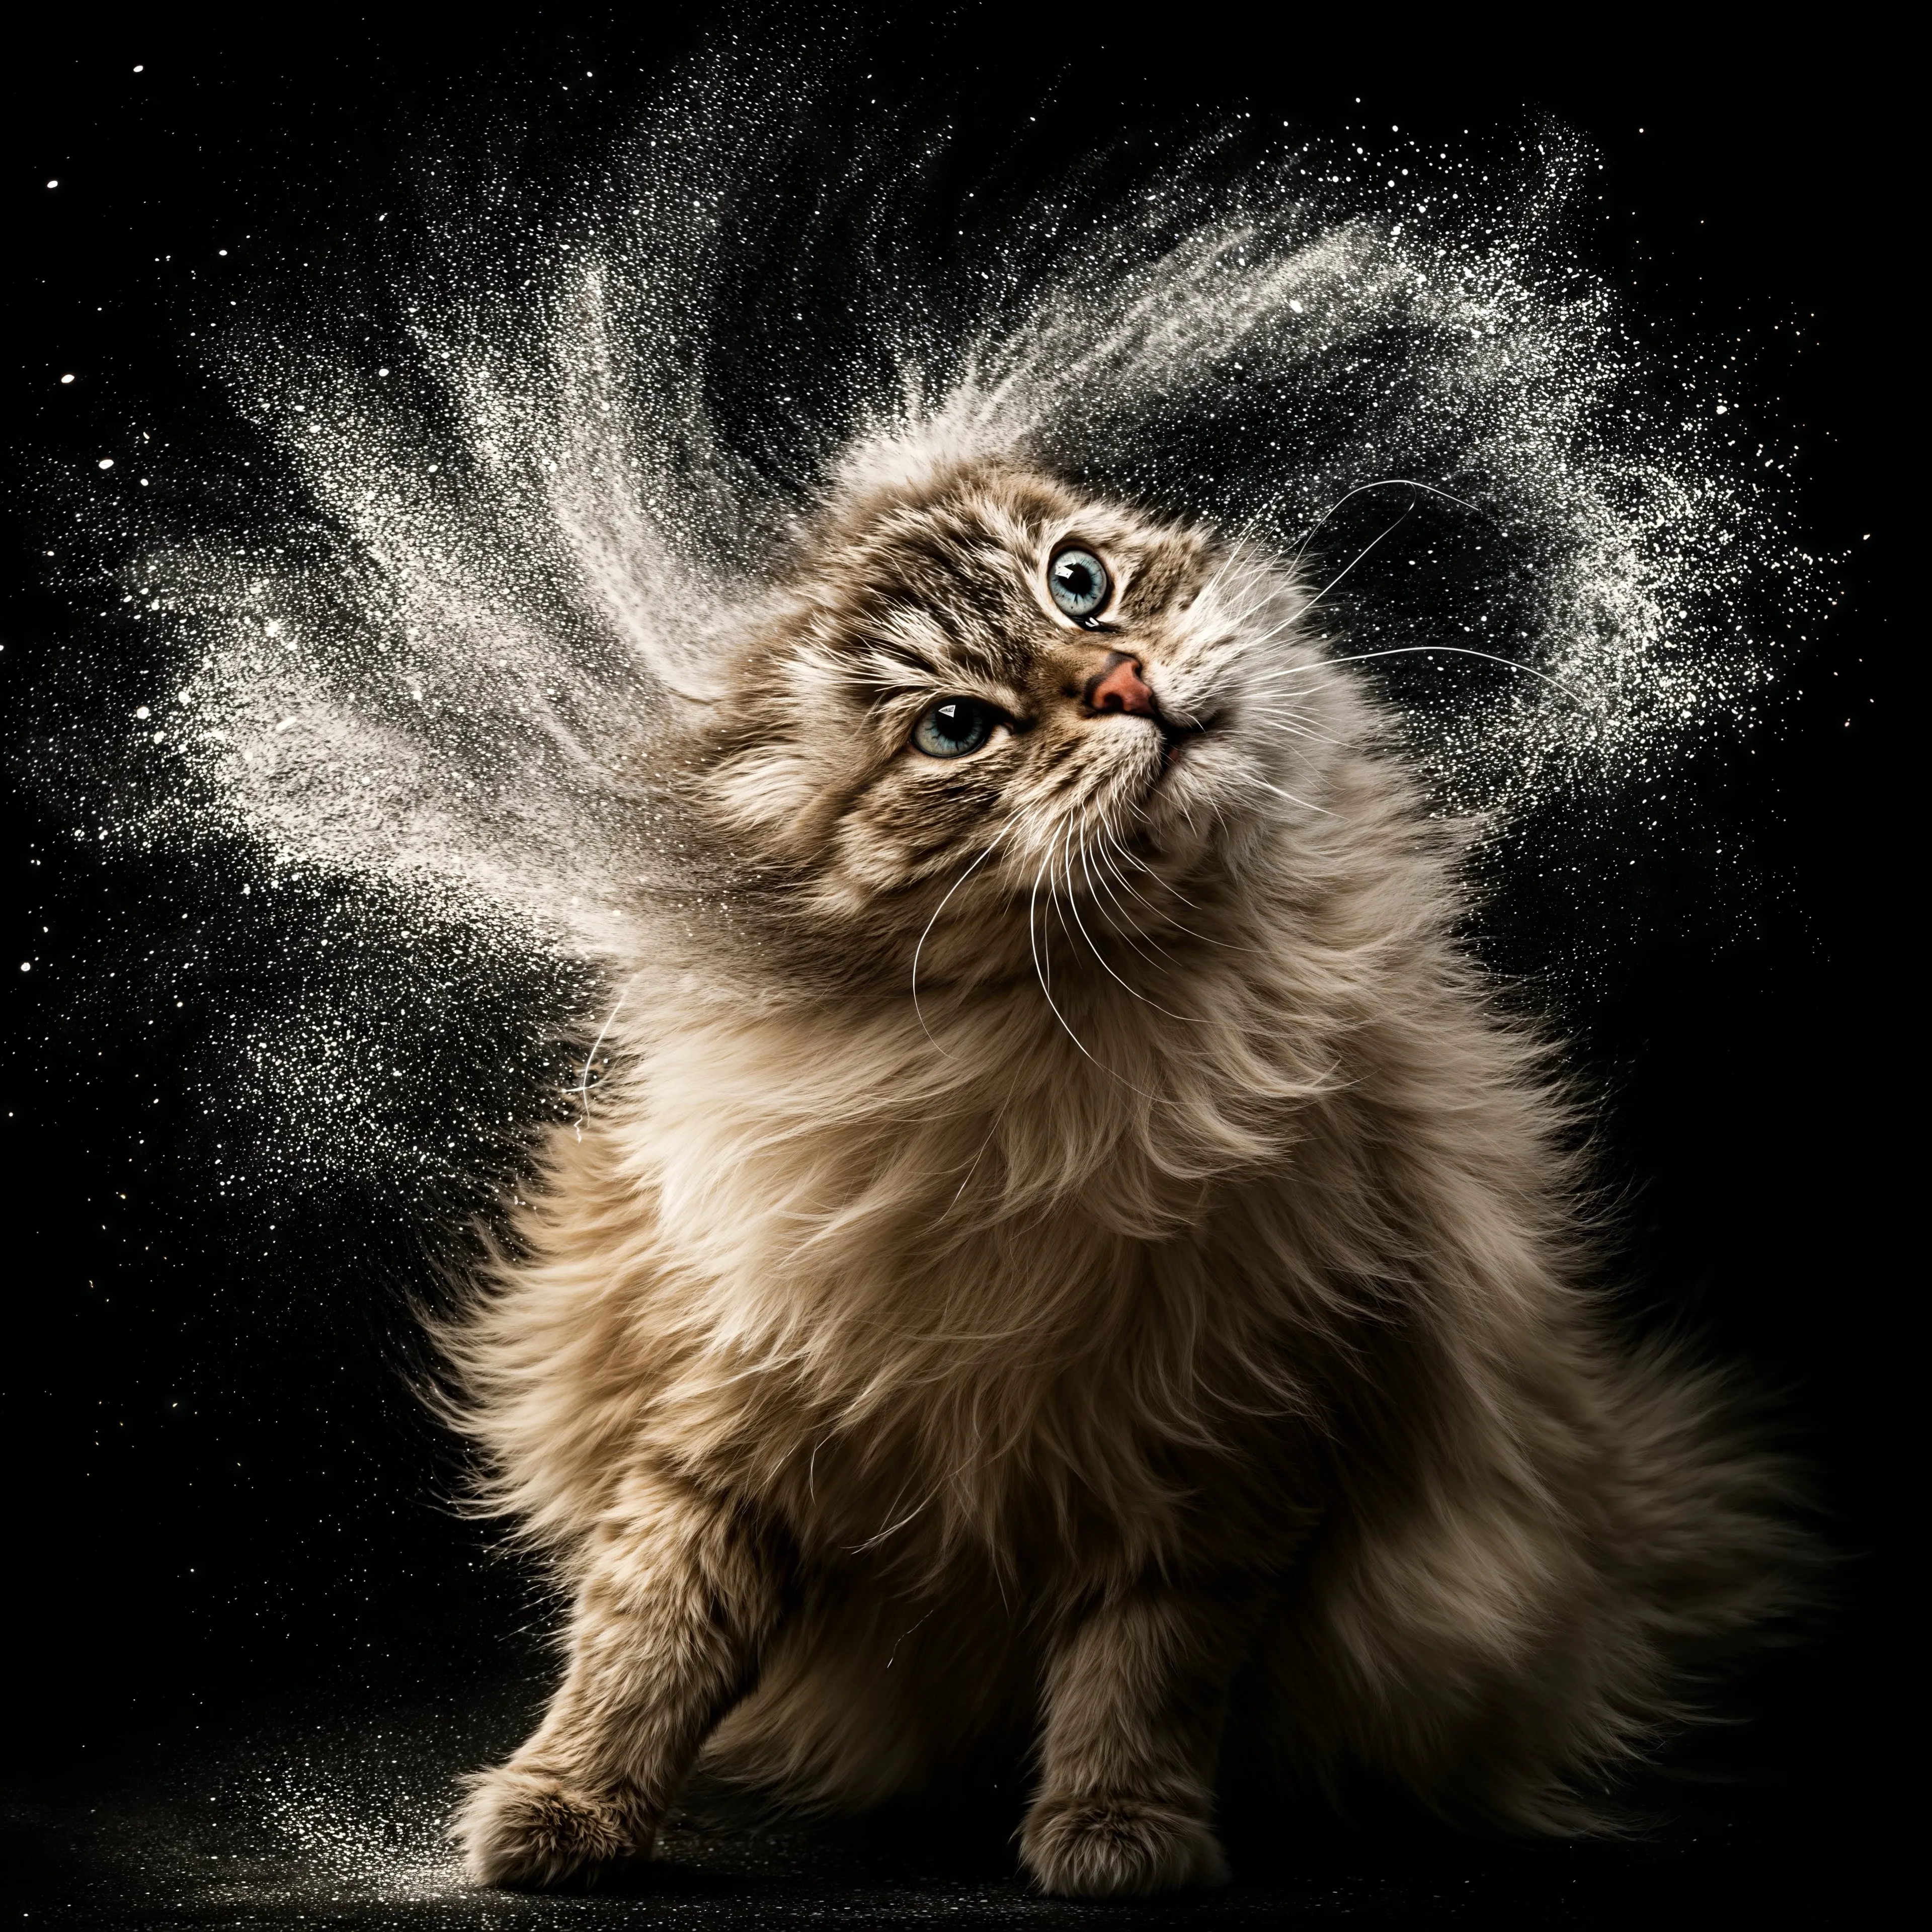
🐱 Cat
Cinematic, award-winning high-speed flash photograph capturing a peak moment of intense kinetic energy: A sleek grey Weimaraner and a fluffy reddish-brown Shiba Inu stand closely, captured simultaneously in mid-shake. Explosions of ultra-fine powder erupt outwards – brilliant white powder cloud from the Weimaraner, vibrant fiery orange powder cloud from the Shiba Inu. Set against an absolute pitch-black, textureless studio void. Dramatic, high-contrast chiaroscuro lighting freezes every particle and highlights the intricate texture of fur mingling with powder. Razor-sharp focus, hyperrealistic detail, capturing raw power and abstract beauty. Sensory overload. 8K resolution.
🐶 Dog
Turn this dog photo into a Jedi samurai pet portrait.

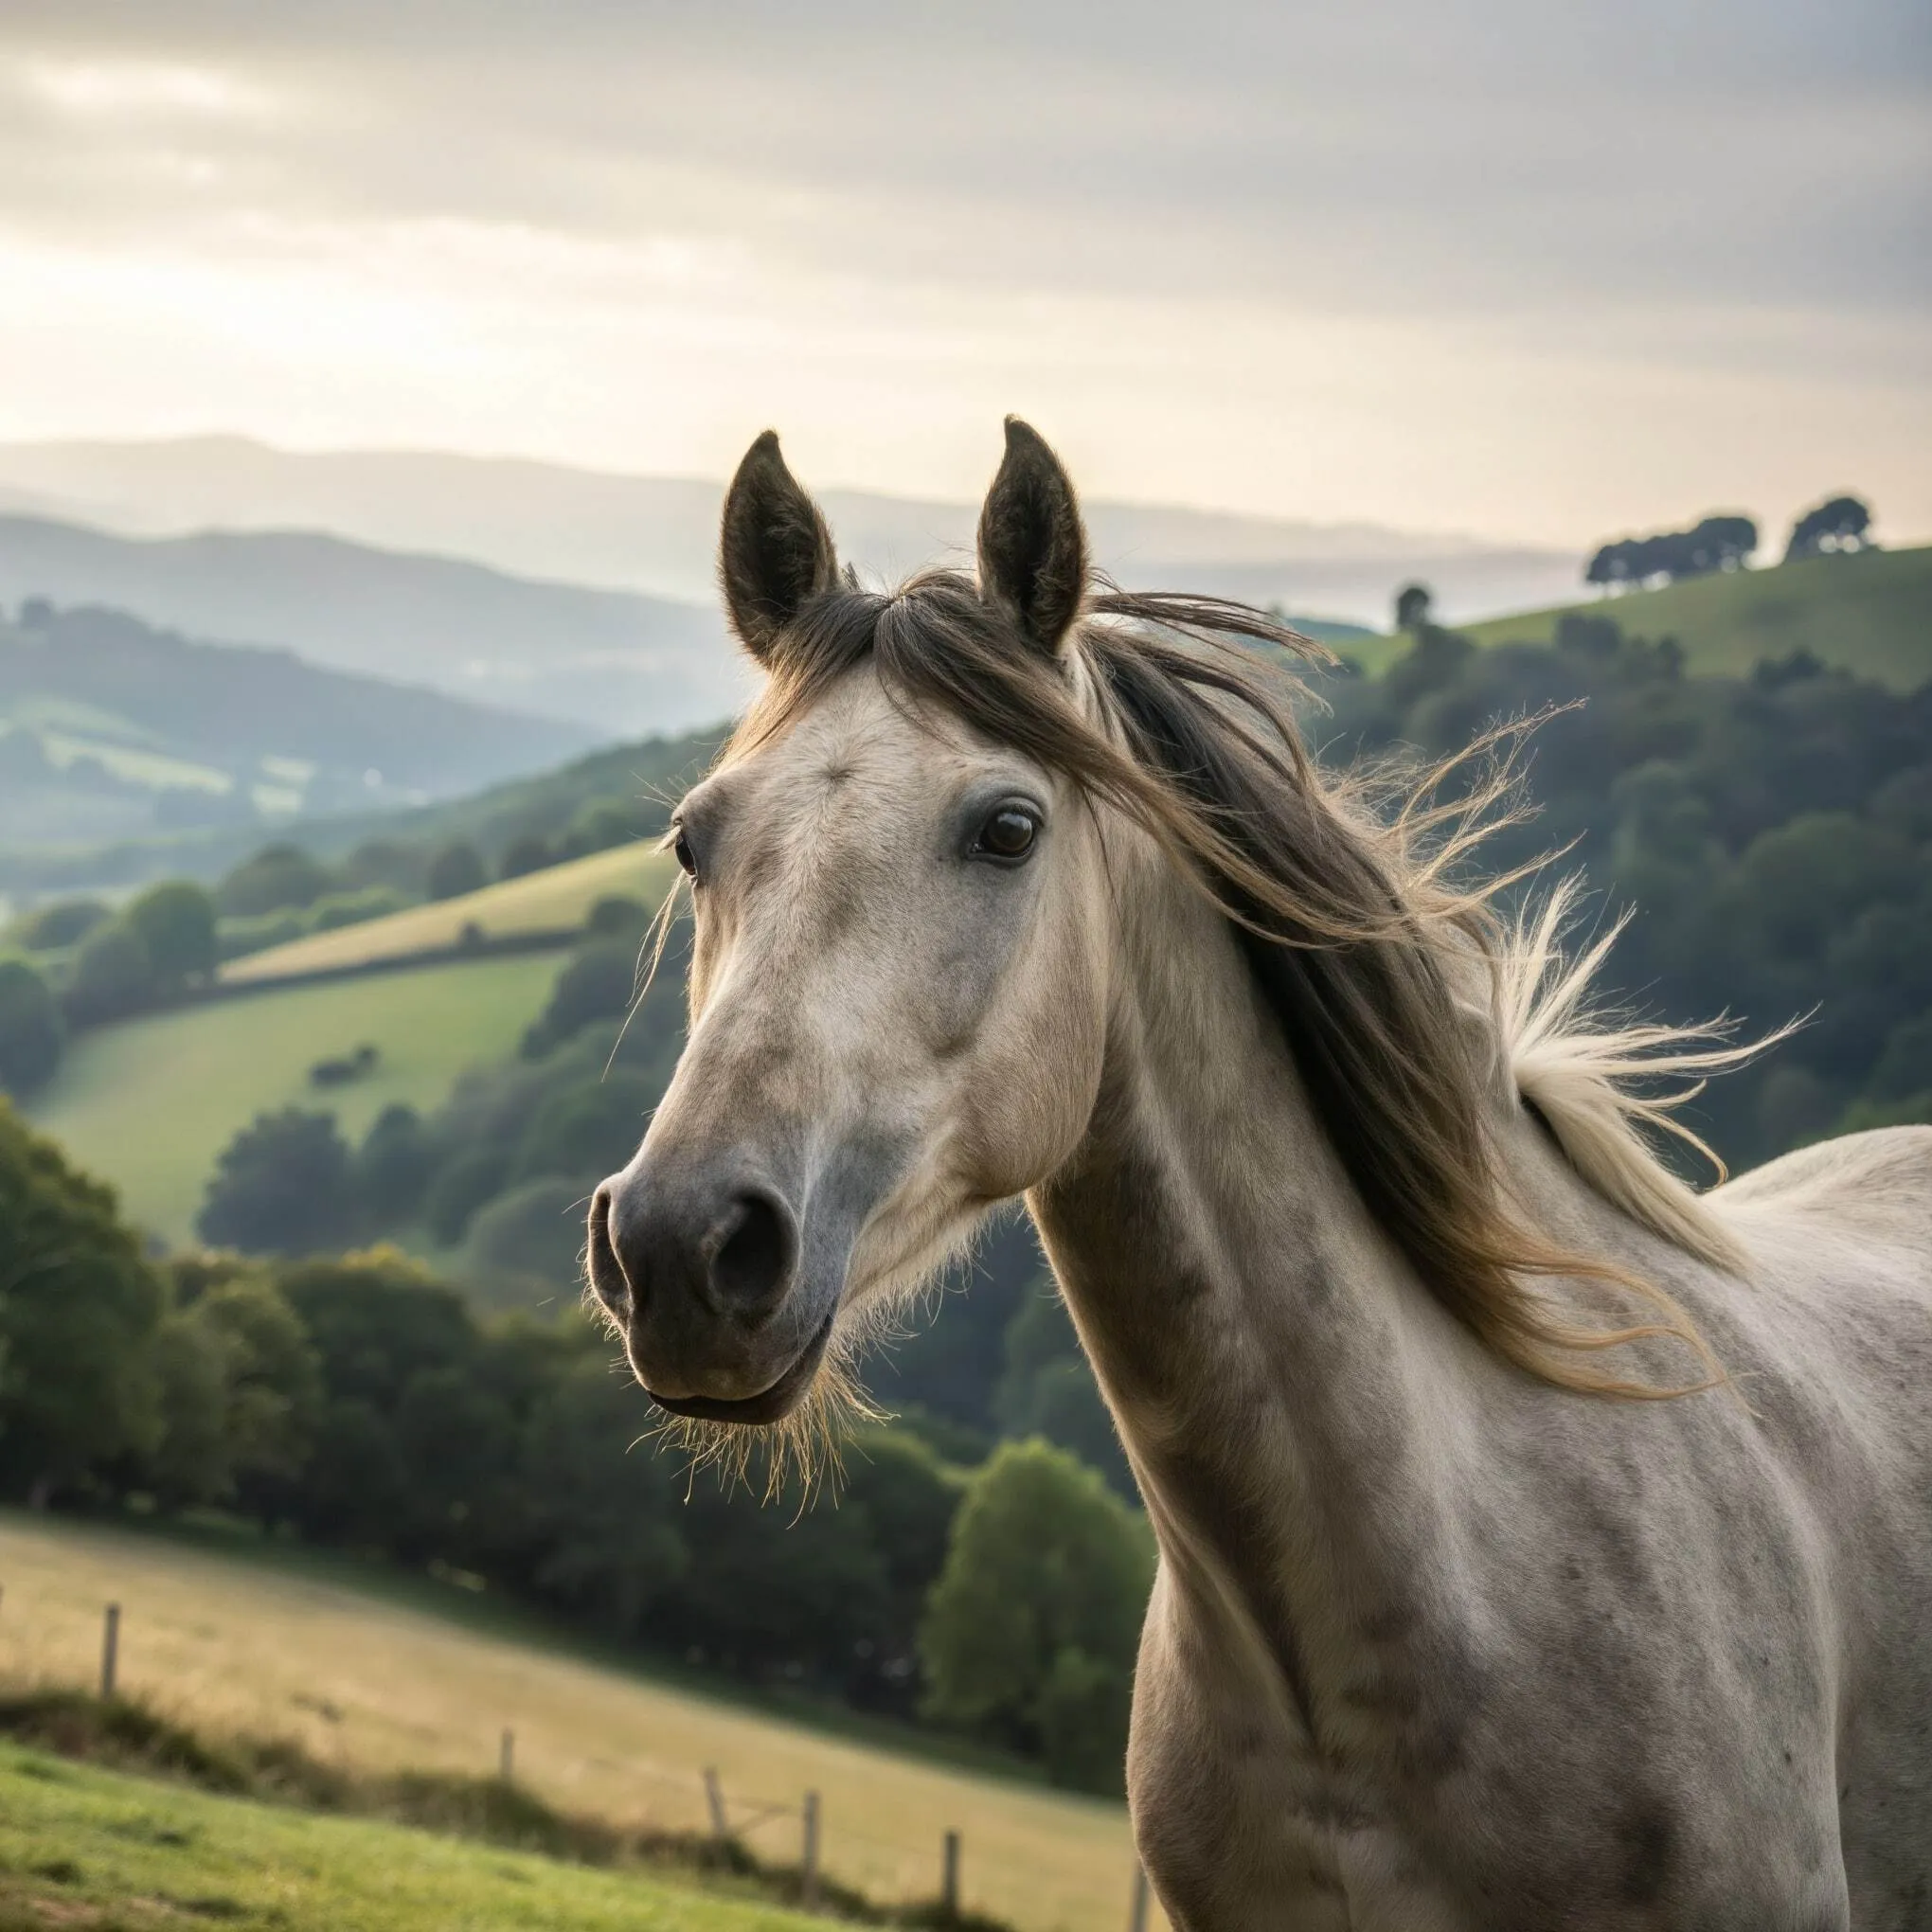
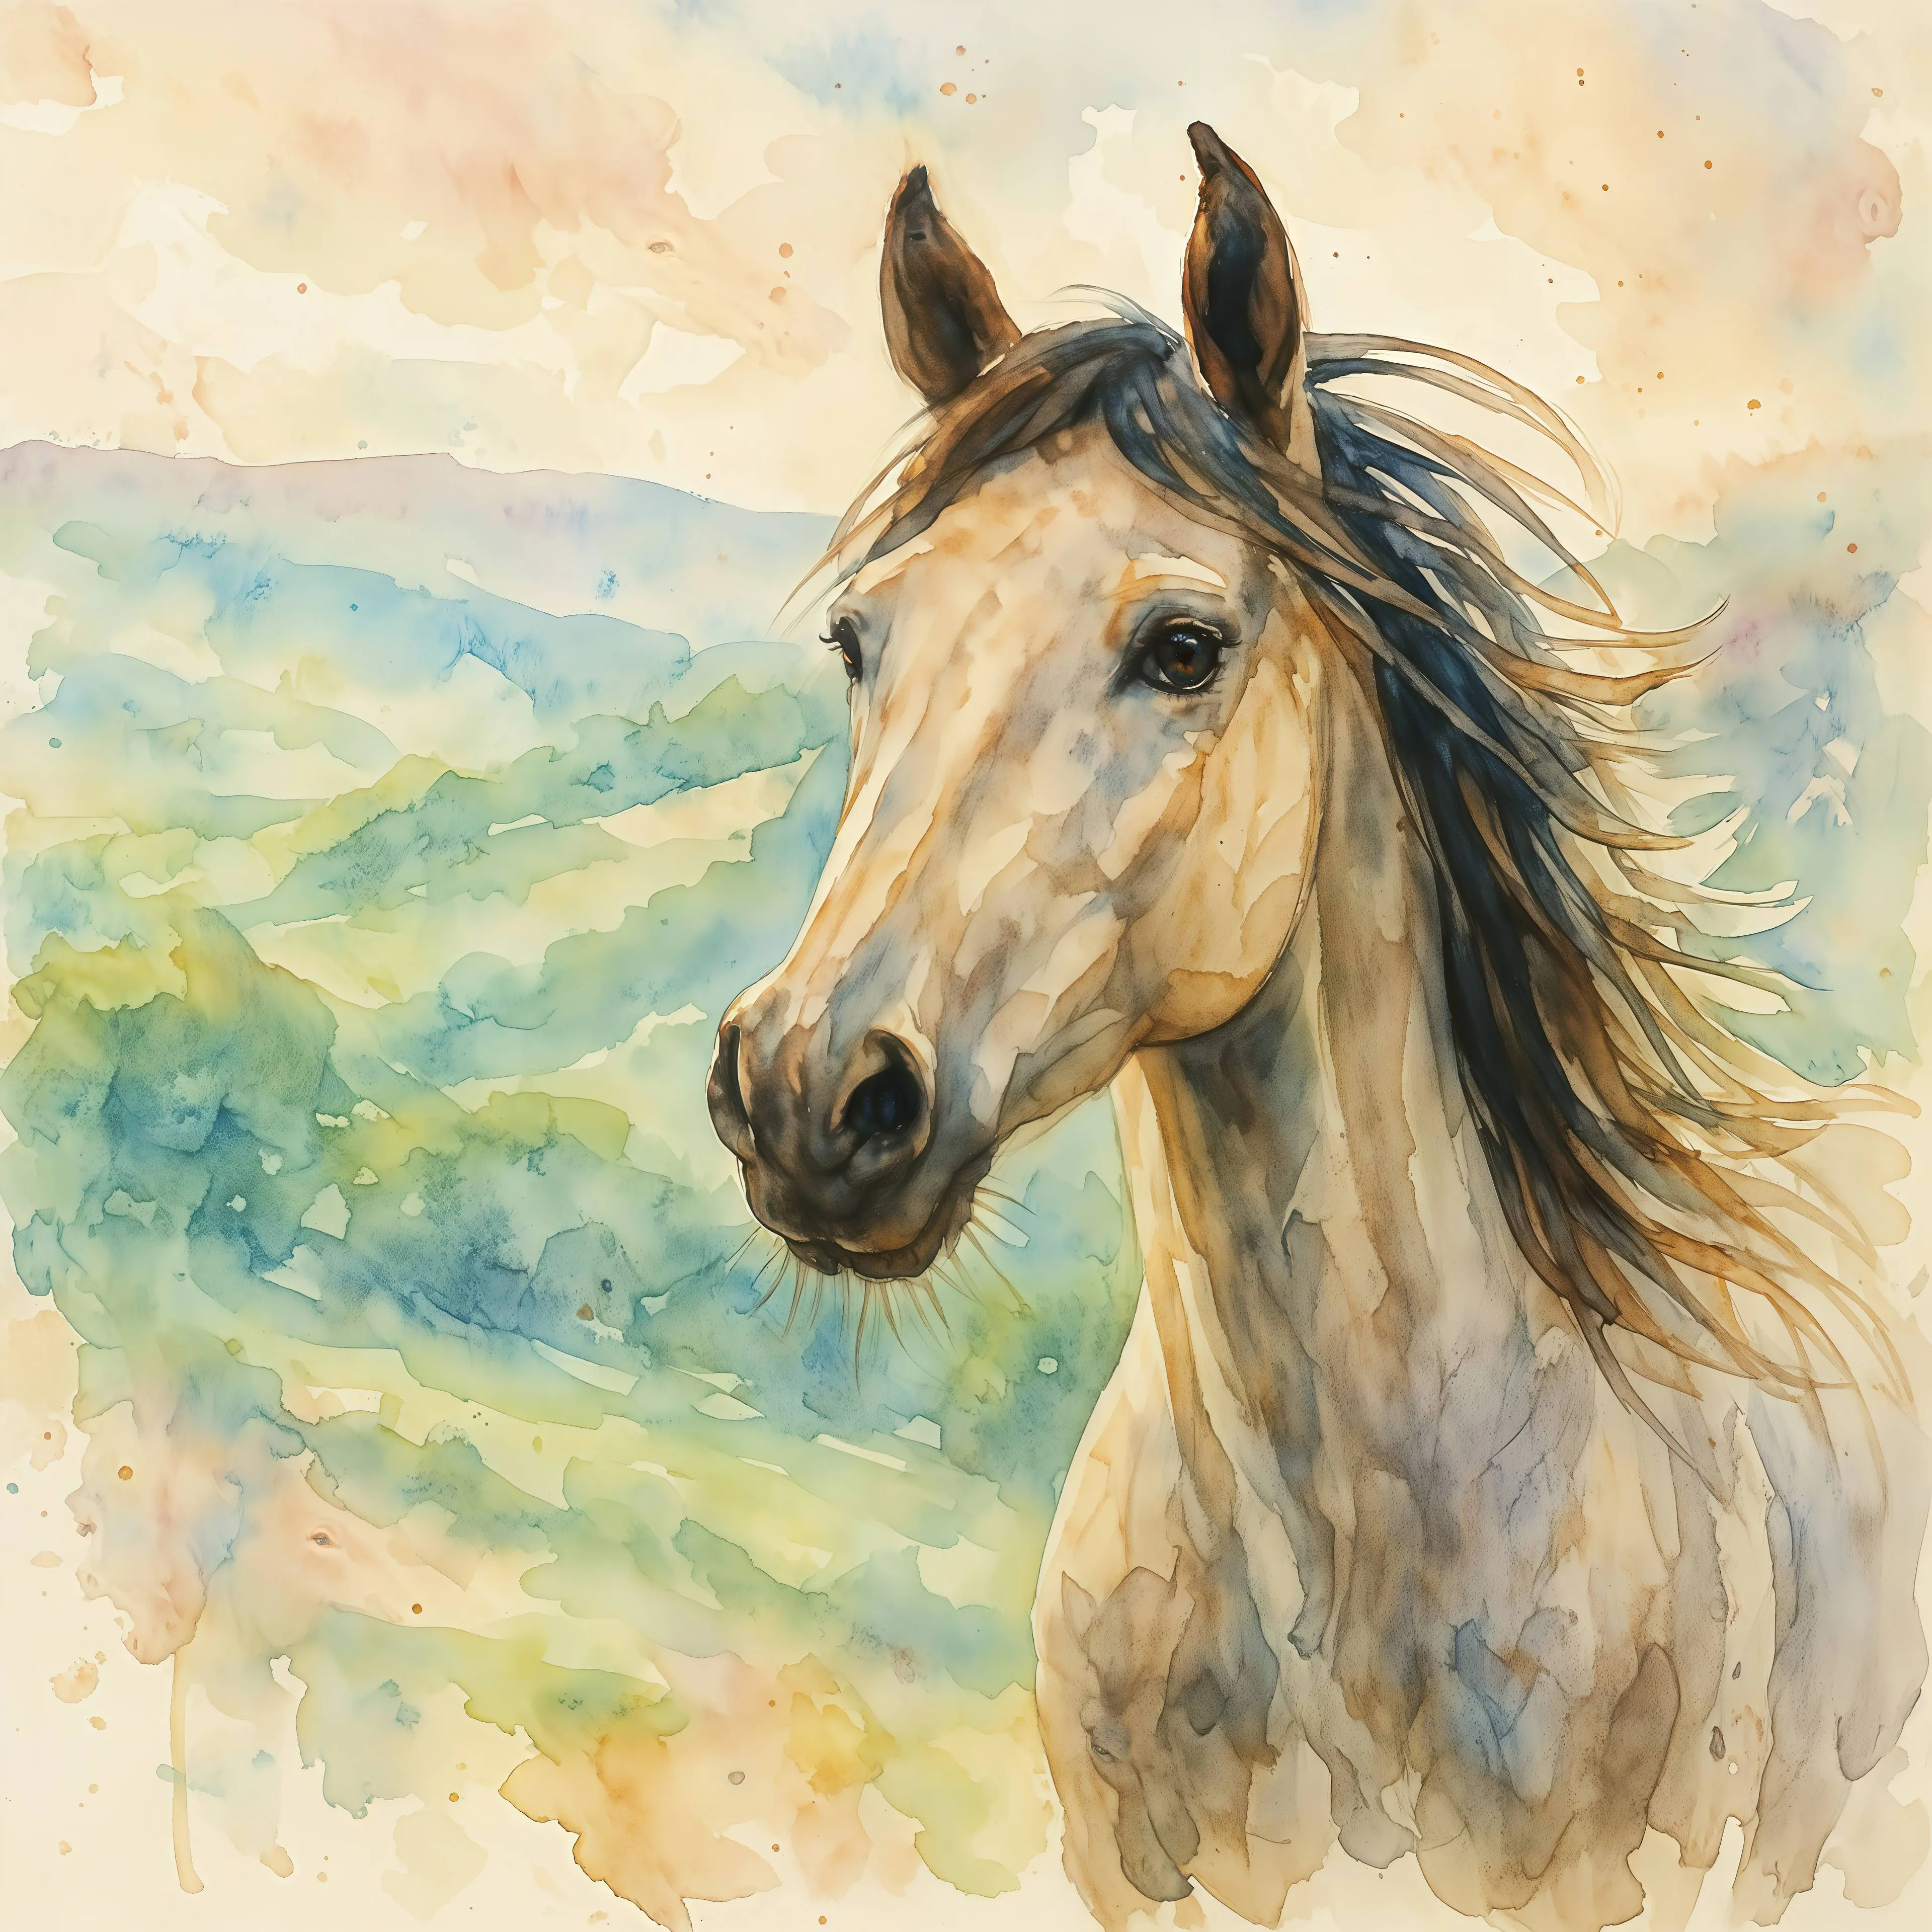
🐴 Horse
Transform this image of the horse into a stunning, high-resolution watercolor painting. Capture the graceful elegance and strength of the horse with soft, fluid brushstrokes and rich, natural hues. Emphasize the texture and flow of the watercolor medium — gentle gradients, bleeding edges, and subtle color variations. Maintain realistic proportions and anatomy, but stylize the fur, mane, and background with artistic expression. Add a light, abstract background with soft washes of pastel colors, suggesting movement and serenity without distracting from the main subject.

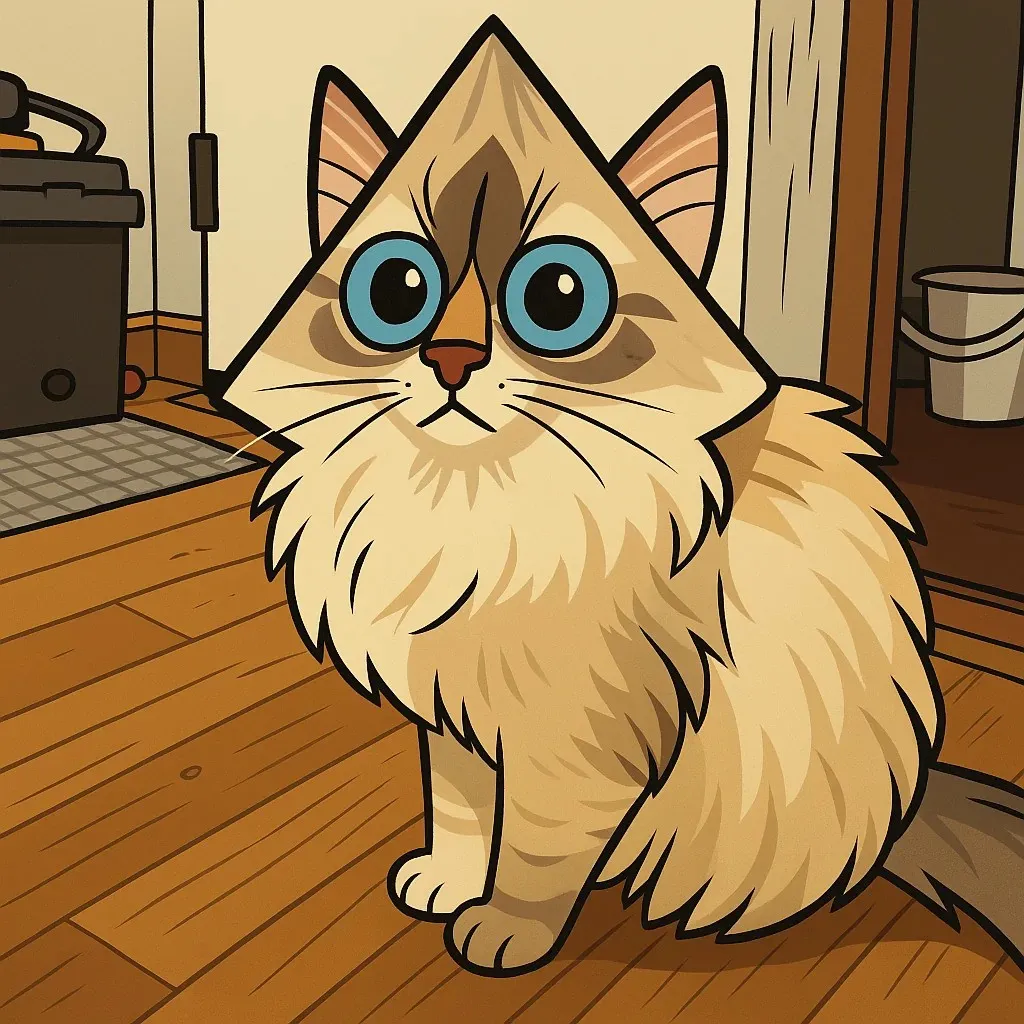
🐱 Cat
Generate a cartoon version of this cat where the full head is the shape of a triangular pyramid.
2. Increase the Resolution
The generated images will look great on screen, but they’re usually too low-resolution (around 1 megapixel). If you print them as-is, they’ll look pixelated, especially on larger formats like posters or canvases.
That’s why you need to upscale them first. For the best results, we recommend using a generative upscaler like Upsampler. We’ve even written a comparison blog post: The Best Upscalers for AI-Generated Images.
AI images often have small issues like weird artifacts or patterns. Upsampler helps fix these and produces high-res, print-ready images.
The standard for printing is 300 DPI (dots per inch), meaning you need approximately 300 pixels for every inch of the final print size. For example:
- An 8×10 inch print should be at least 2400×3000 pixels.
- A 24×36 inch poster would require around 7200×10800 pixels — that’s over 77 megapixels.
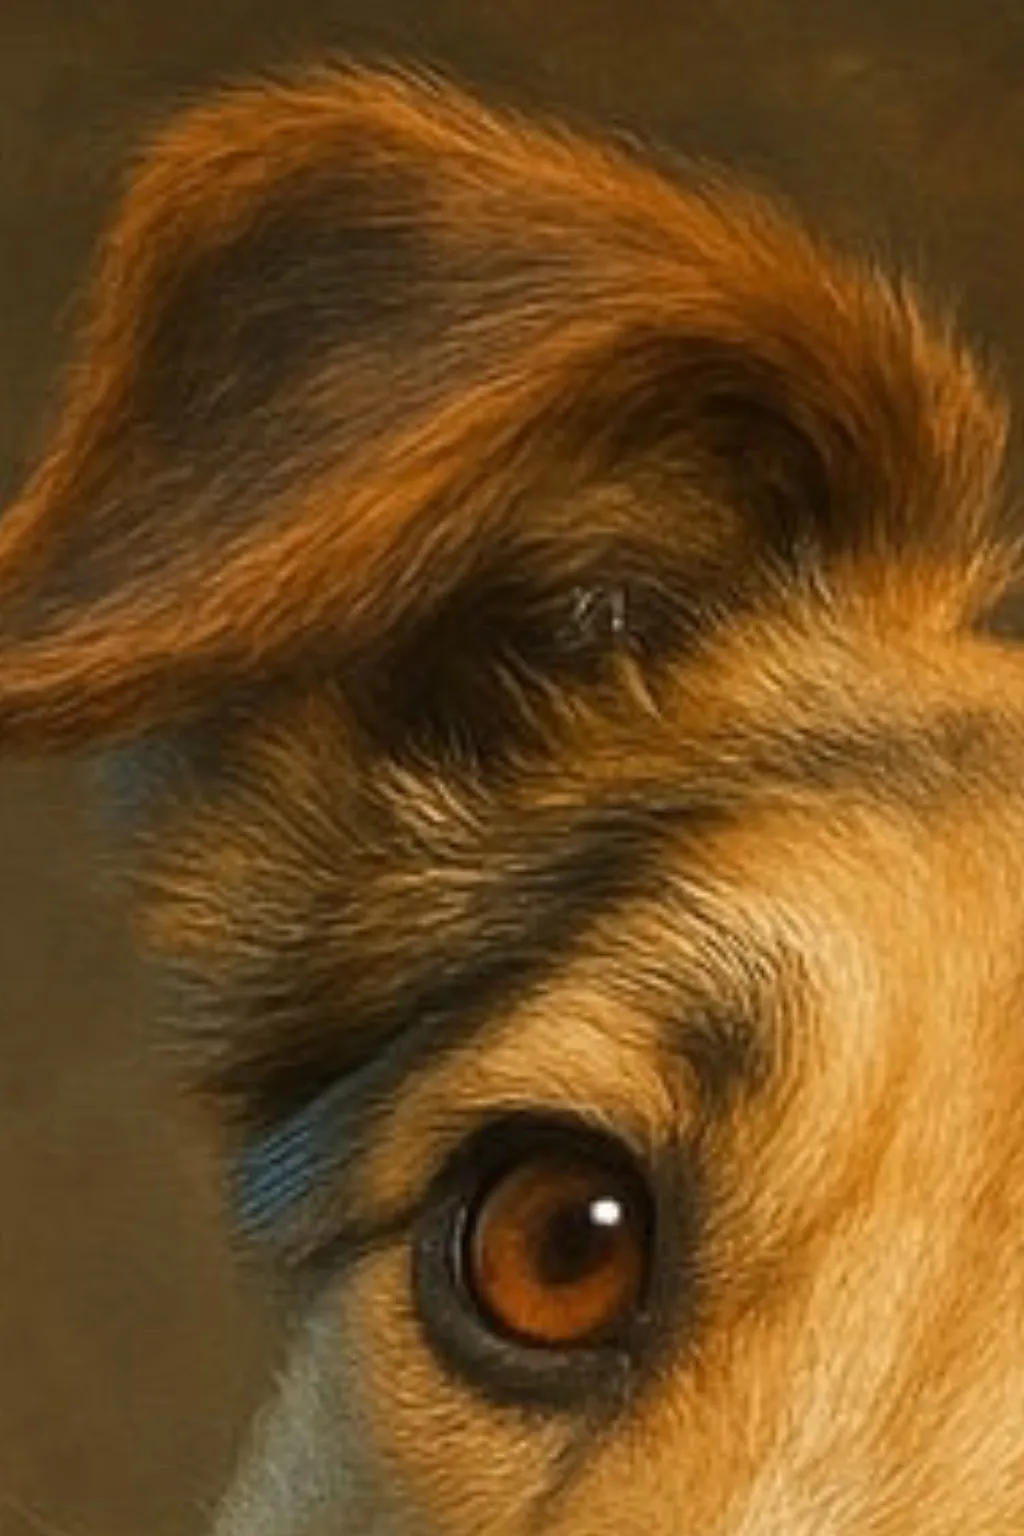
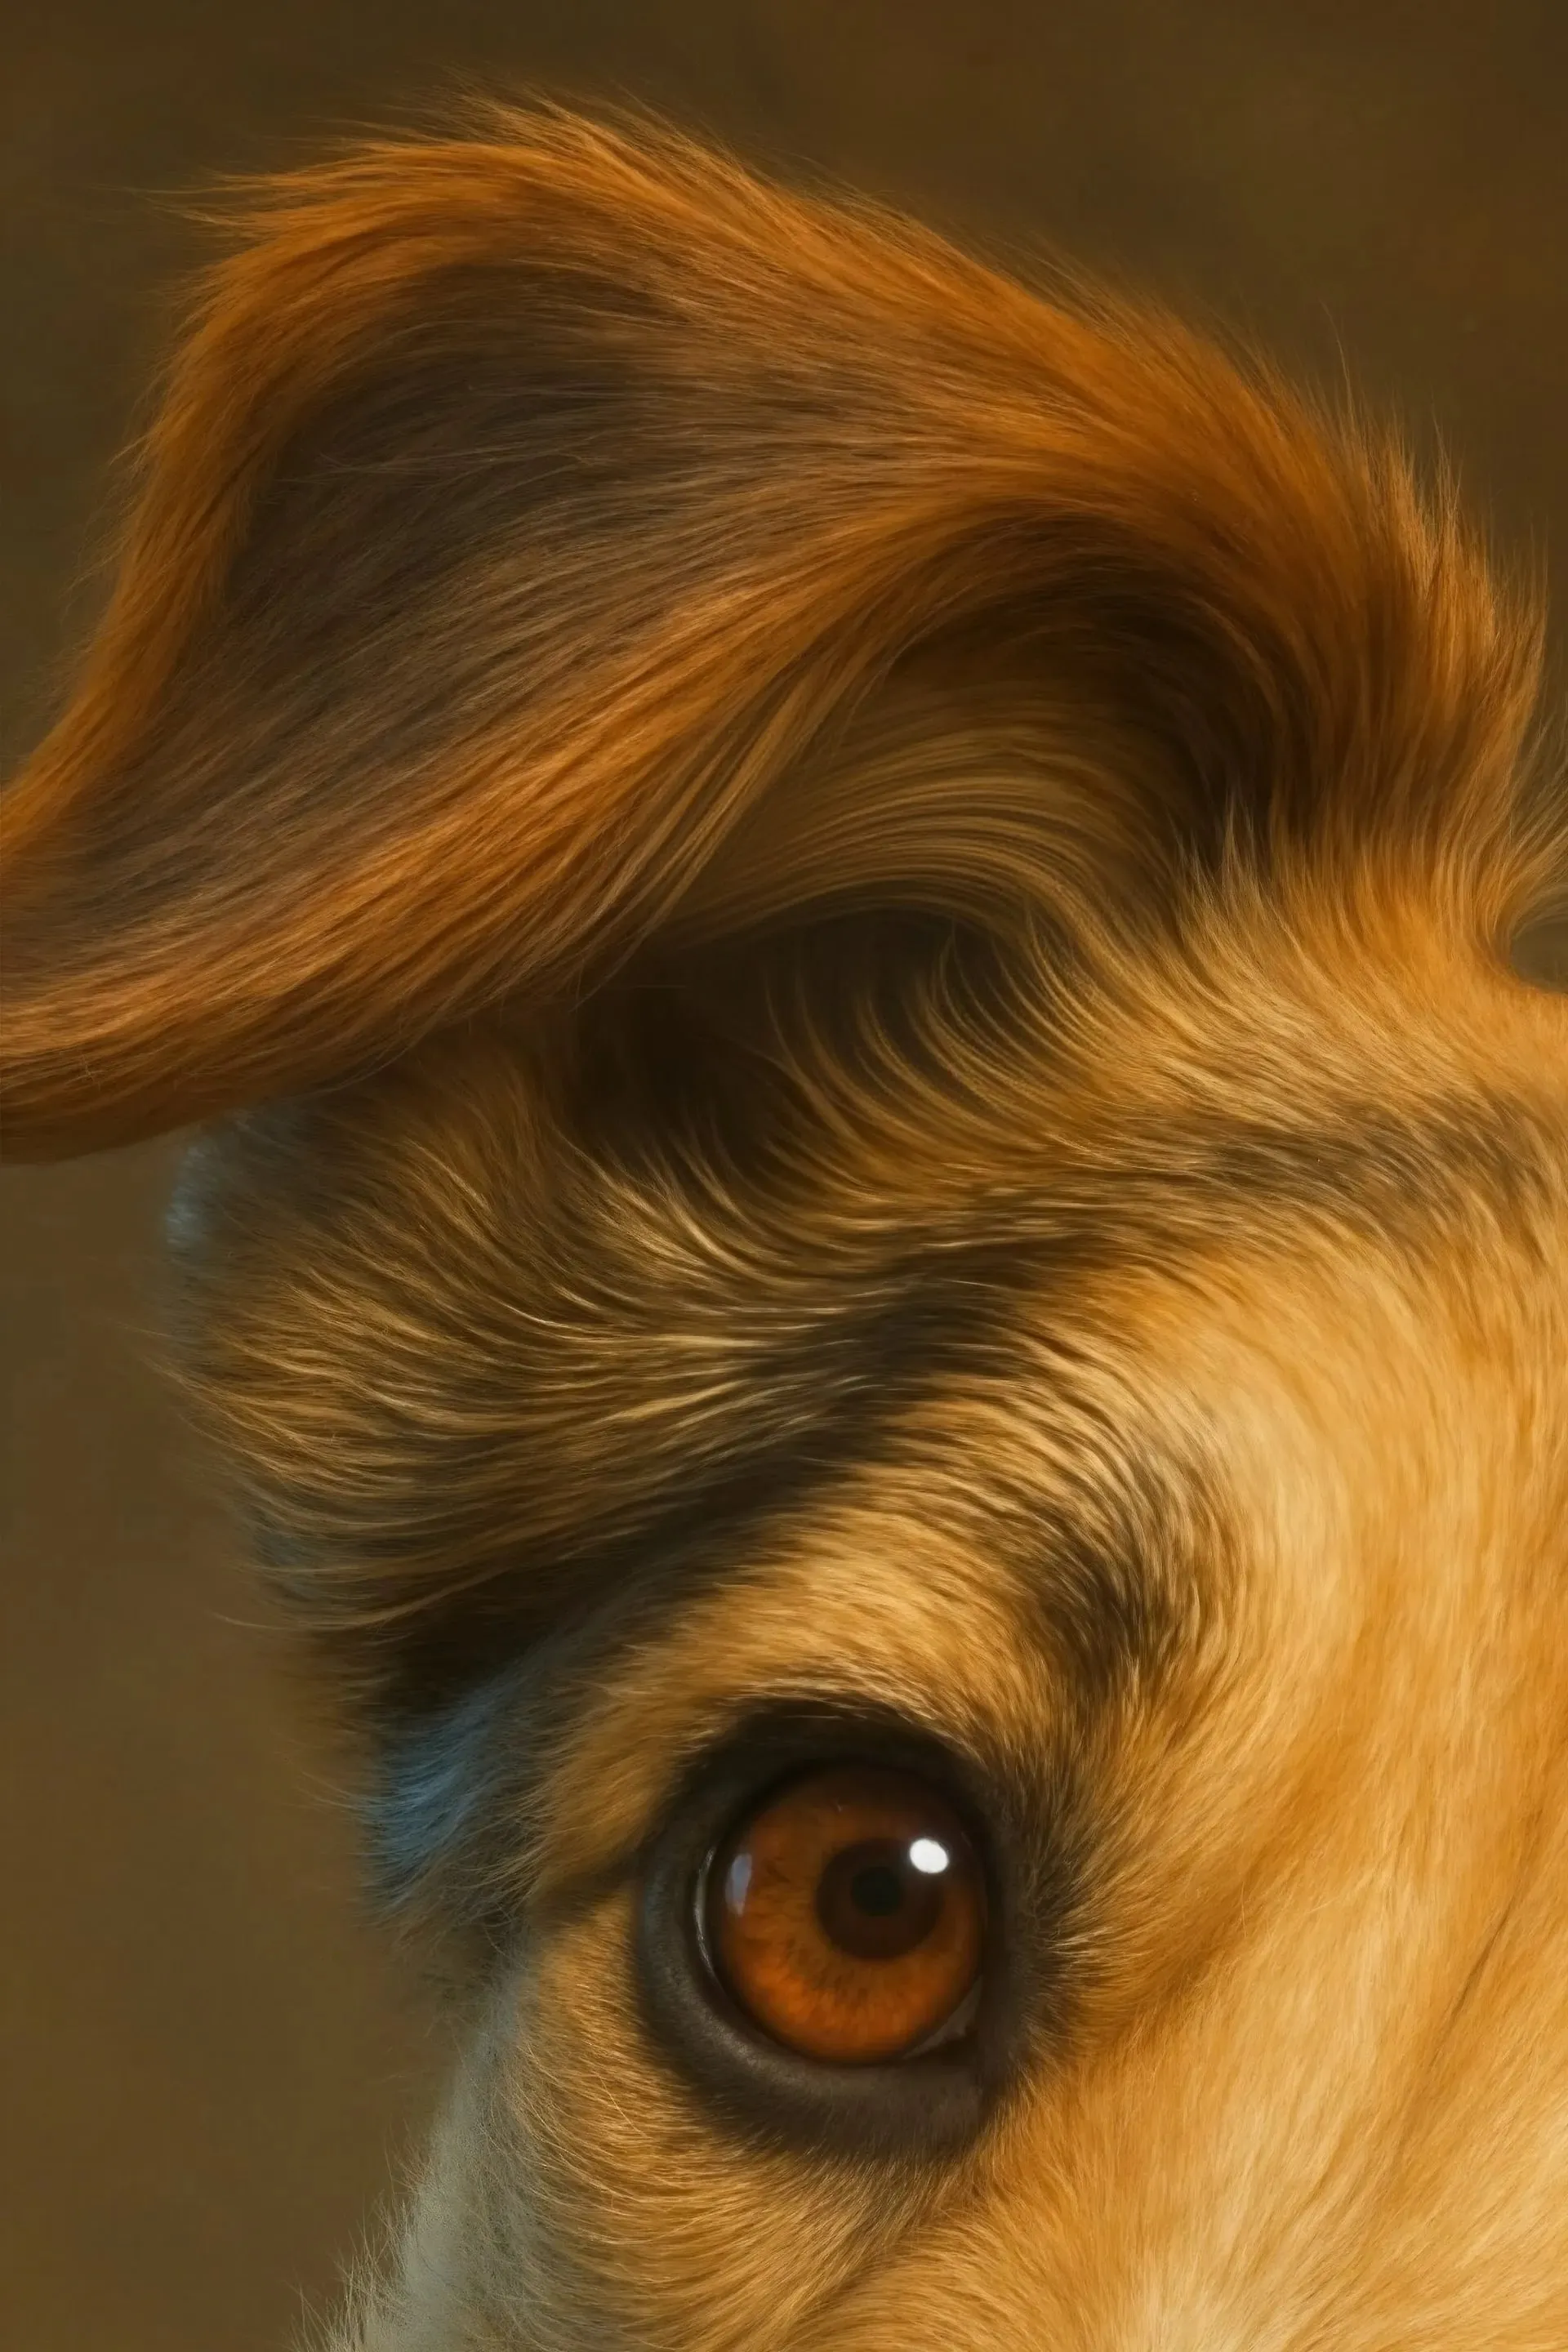
With Upsampler, you can easily reach these resolutions. It supports up to 100 megapixels, so even large prints are no problem. Plus, unlike traditional upscalers, Upsampler uses a generative model that adds realistic detail rather than just stretching the image, resulting in prints that look sharp, natural, and professional. Here’s a look at the before and after using Upsampler:


3. Fix Any Issues
If you spot any weird spots or artifacts, you can fix them easily.
- Use Generative Fill on Upsampler
- Or head over to Photopea — a free Photoshop alternative
- Or Photoshop itself if you have access
Just clean up any areas that look off before you move on to printing.
4. Get It Printed
For printing, we recommend using a print-on-demand provider like Printful. Here’s a quick ranking of the best ones if you want options.
When uploading your image, make sure it fully covers the print area—white borders should be avoided. If your image doesn’t meet the DPI requirements (typically 300 DPI), you’ll receive a notification. In that case, simply run another upscale with a low denoise setting.
Final Thoughts
You can create these custom portraits for yourself, as gifts for friends and family, or even sell them on platforms like Etsy. It’s a fun, creative, and potentially profitable way to use AI and turn pet photos into stunning works of art.